Gluten free and extra spicy vegan gingersnaps; a modern take on an ancient cookie by Suzanne

Gingersnaps appeared commercially in the mid 1800s but we can trace this cookie’s roots to medieval times. It’s believed to have been invented by monks in 13th century Germany.

Typically, gingersnaps are flavoured with molasses and spices like cinnamon, clove, ginger and nutmeg. They’re prepared in varying textures and thicknesses too.

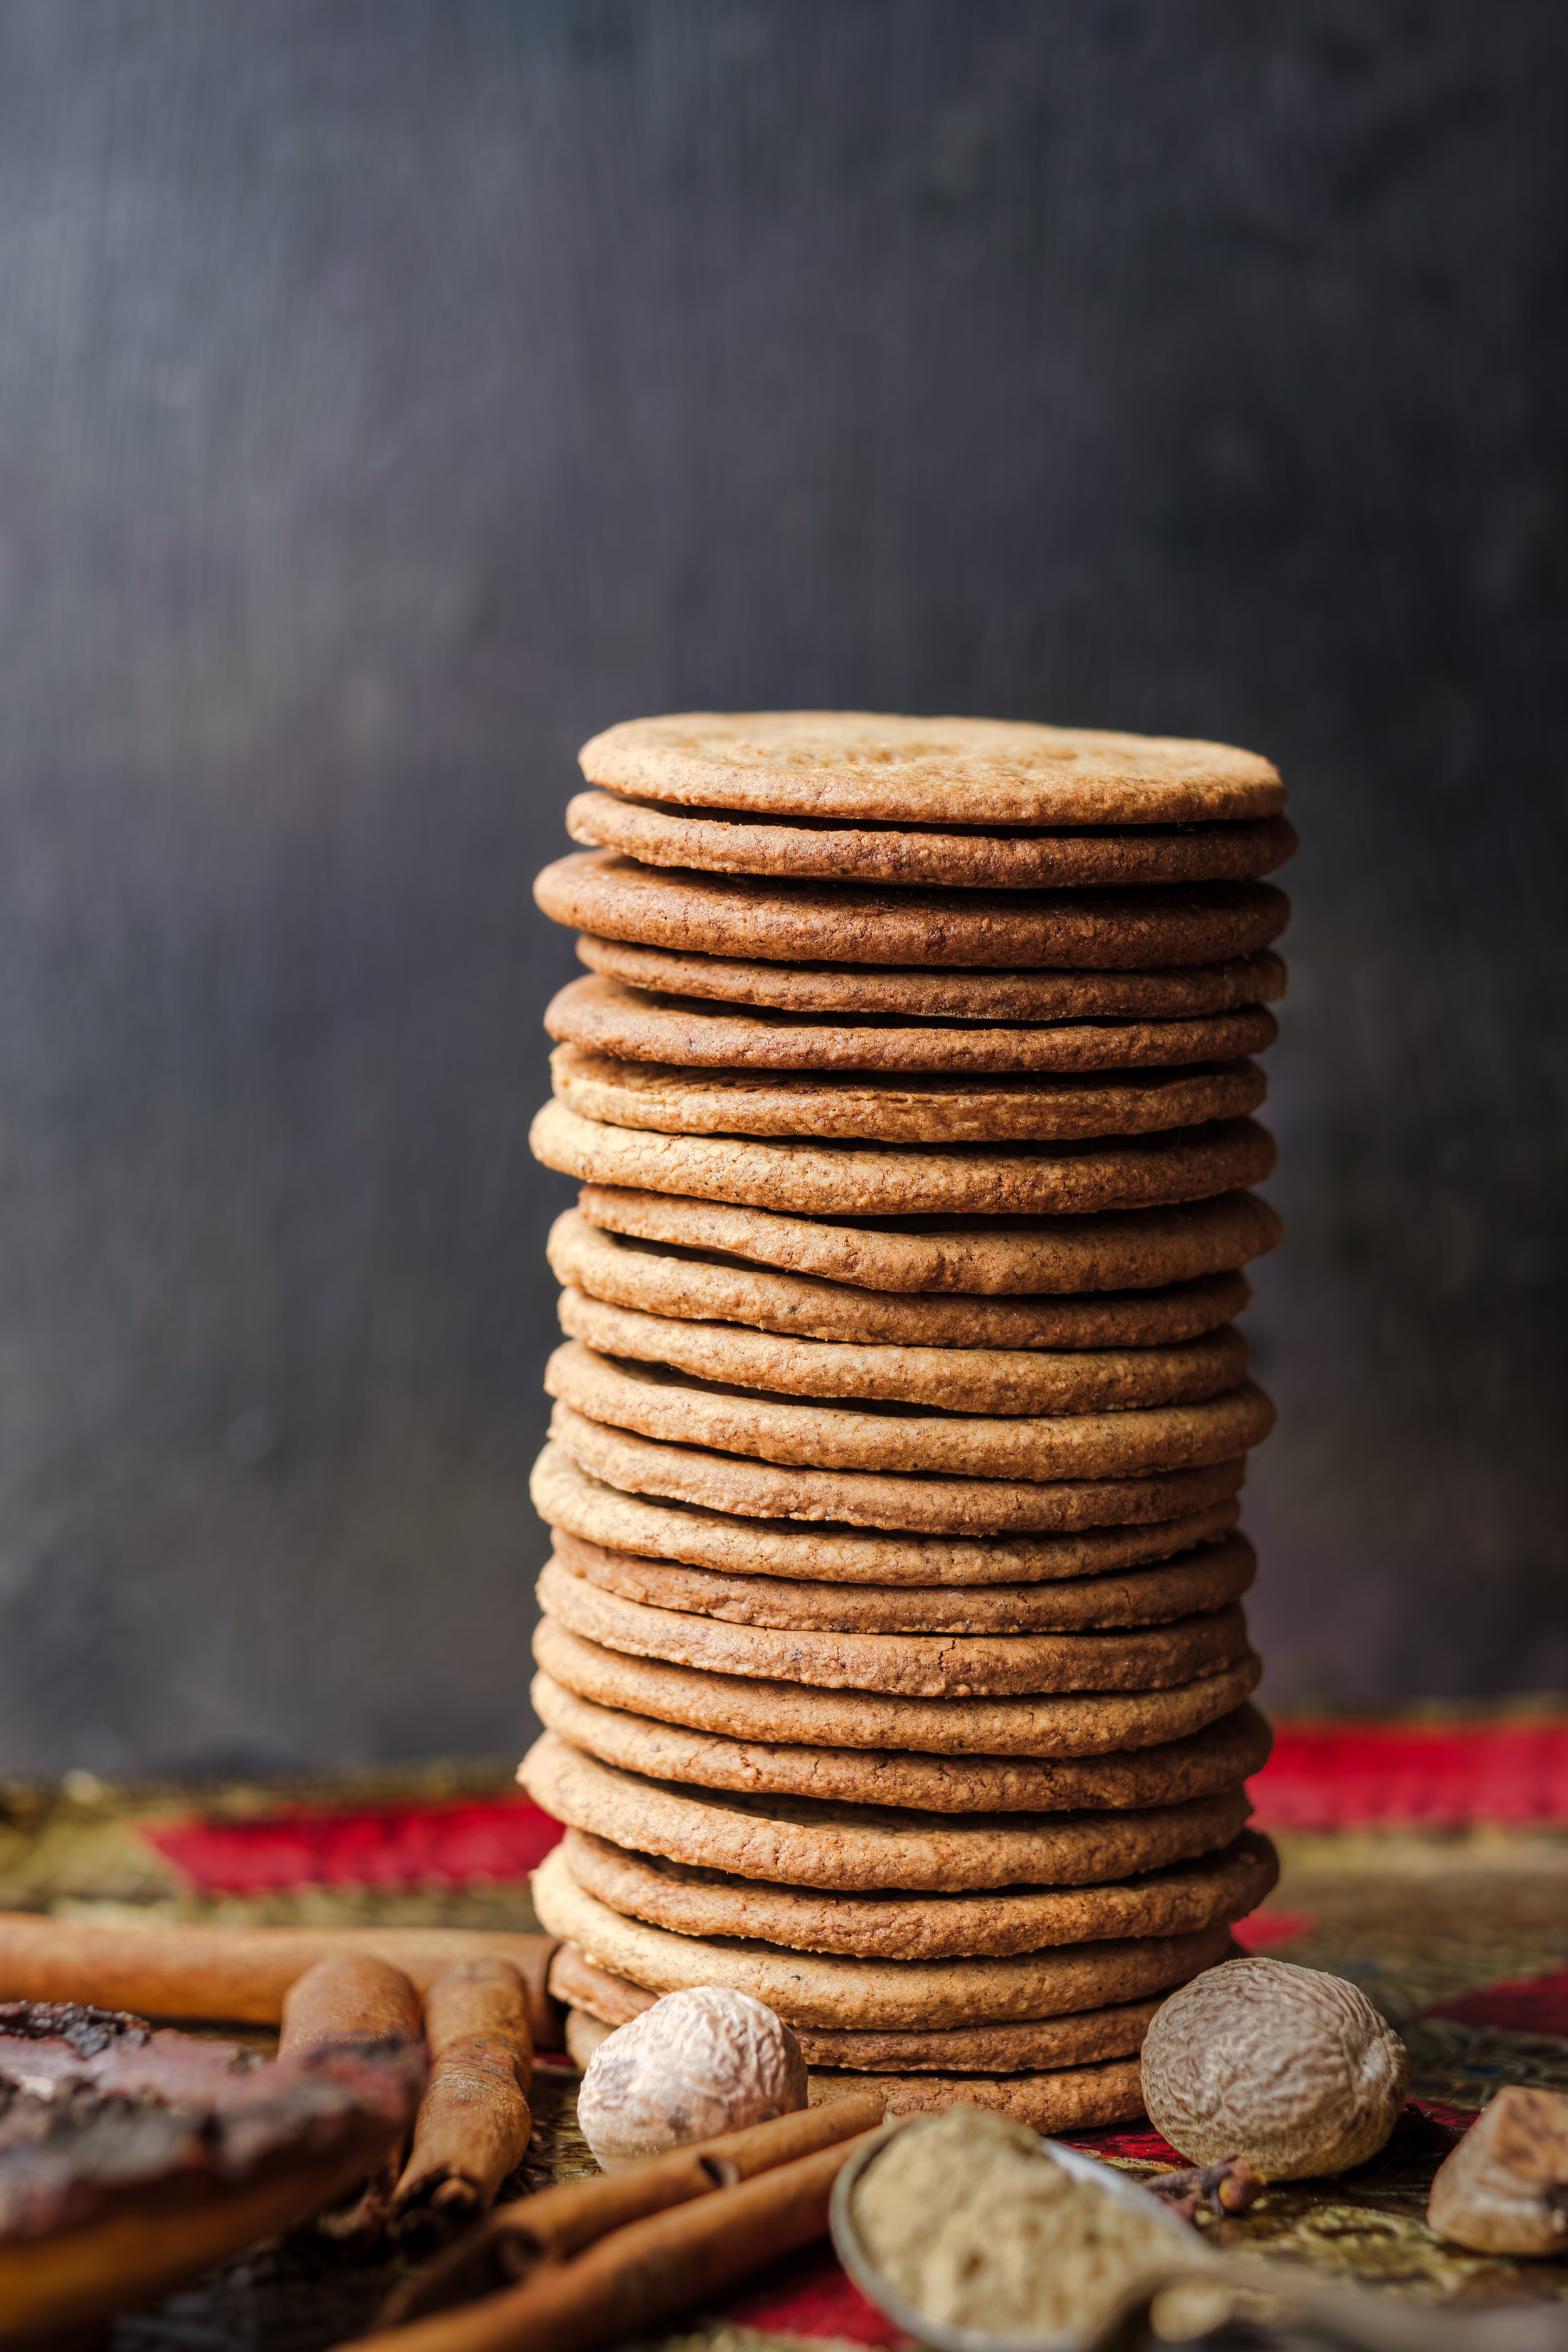
I love versions that are crisp on the edges and chewy in the middle but this is not that kind of gingersnap. This one lives up to the name! It’s got an amazing light crispness and crunch.

This is a strongly flavoured cookie. I increase the amount of spice from that used in the original recipe and I include ground cloves and freshly ground black pepper. I use ground nutmeg in a pinch but I much prefer whole nutmeg, grated with a microplane. If you're out of ground cloves, like I was, grind a few whole cloves. And why not! Although it’s not necessary, using freshly ground spices rewards you with extra warmth and flavour.

You can even grind rolled oats if you don't have oat flour.  For one cup of oat flour add a cup and a bit more of rolled oats to the food processor and blend until it becomes a flour.

The cookie dough comes together beautifully and is easy to roll out. But I had some trouble transferring the unbaked cookies onto the cookie sheet. It was a warm day and the dough had softened and warmed quickly, and it was a challenge to scoop up the cookies without them losing their nice flat round shapes.

Briefly chilling the dough AGAIN - after you roll it out and before you start cutting the shapes - helps a lot, as does using a metal spatula lightly dusted with flour to scoop up the cookies.

Here’s another way to insure your cookies keep their shape. After you press the cookie cutter into the chilled dough and make all the shapes, carefully roll away excess dough from around the cookies and leave them on the parchment, undisturbed. Then slide the parchment onto the cookie sheet.

Of course it doesn't matter if the shapes get wobbly and the cookies aren’t uniform. They will still be delightfully crisp and taste delicious.

Yet it's quite nice to see them neatly stacked, all relatively the same shape and size, especially if you intend to gift them. The brittle structure of these gingersnaps makes them an excellent cookie to package and give away.

Original recipe here.

Gluten free and extra spicy vegan gingersnaps (makes about 30 cookies)

1/4 cup maple syrup

3 Tbsp coconut sugar or brown sugar (or even white sugar, I've tried them all, successfully.)

3 Tbsp melted coconut oil

2 Tbsp molasses

2 tsp ground ginger

2 tsp ground cinnamon

1/4 tsp ground nutmeg

1/4 of ground ground clove

freshly ground black pepper, about 10 turns of the pepper grinder

1/2 tsp baking soda

1/4 tsp sea salt

1 cup oat flour

1/2 cup almond flour 

1/4 cup arrowroot flour/starch

Preheat the oven to 350 degrees F (176 C).

Line two large baking sheets with parchment paper.

Begin by mixing together the maple syrup, coconut sugar, melted coconut oil, molasses, ginger, cinnamon, nutmeg, clove, black pepper, baking soda and sea salt until well combined.

Then add in your oat flour, almond flour and arrowroot starch and mix with a stiff spoon until everything is blended well.

Form the dough into a flattened disc, wrap in parchment and refrigerate for 30 minutes.

Remove from the fridge and allow the dough to rest for a minute then place in the centre of a sheet of parchment paper lightly dusted with some arrowroot starch. Lightly dust the top of the dough with more arrowroot starch and place another sheet of parchment paper on top and begin to roll the dough into a large circle about 1/16-inch thick. Rolling your dough as thinly as possible results in cookies that are light and crisp. Place the dough in the refrigerator once more to chill for 5 to 10 minutes.

Use a cookie cutter to cut out as many cookies as you can. I used a small drinking glass with an approximate 2 1/2 inch diameter with the rim lightly dusted with arrowroot starch.

Now you have options.

Use a metal spatula lightly dusted with arrowroot starch to transfer the cookie shapes onto your parchment-lined baking sheet about 1 inch apart.

Or do as I did and remove the excess dough from around the cookie shapes and leave them in place on the parchment. Then lift or slide the parchment paper carefully onto the cookie sheet.

Combine remaining dough scraps and repeat until all of the dough is used up.

Bake the cookies for 9 to12 minutes. The longer you bake them the crisper and darker they will be. Cool on the pan for 10 minutes before transferring to a cooling rack.

Store in an airtight container for several days at room temperature, and for even longer in the refrigerator and freezer. You can also freeze the dough and defrost in the refrigerator before rolling out to bake.
Carrot cake granola by Suzanne

It might seem strange to see shredded carrots in the ingredient list for a granola recipe but please trust me when I say this is probably the best granola I’ve ever tasted.

The two cups of shredded carrot curl and crisp up really nicely once roasted (much like shredded coconut does). The carrots lend a distinct sweetness and add a beautiful colour too. Dig in and for a moment it's like you're having carrot cake for breakfast.

Packaged nicely in a jar or a vintage tin this granola would make a great holiday gift. Hope you love it as much as I do.

Carrot Cake Granola (adapted from this recipe)

Makes 12 cups

4 cups rolled oats

2 cups grated carrots

2 cups roughly chopped pecans

2 cups roughly chopped walnuts

1 cup shredded coconut

3 tsp cinnamon

2 tsp ginger

1 1/2 tsp freshly grated nutmeg

1 cup maple syrup

1/2 light olive oil

1 tbsp vanilla

pinch of salt

1 1/3 cup cranberries or raisins (add these once the granola is out of the oven)

Heat oven to 325 degrees.

Add the oats, carrots, pecans, walnuts, olive oil, maple syrup, cinnamon, salt, ginger, nutmeg and vanilla together in a large mixing bowl. Toss well until combined.

Divide the mixture between two large baking sheets lined with parchment. Bake for 20 minutes. Stir the mixture and bake for a further 10–15 minutes or until the granola is golden and crunchy. Allow to cool on the trays. Add the cranberries or raisins and toss to combine.

Enjoy immediately, or store in a sealed container for up to 2 weeks.

Easy vegan basil pesto by Suzanne

It amazes me how a recipe from long ago and far away arrives in our cookbooks and kitchens. I’m thinking specifically about basil pesto.

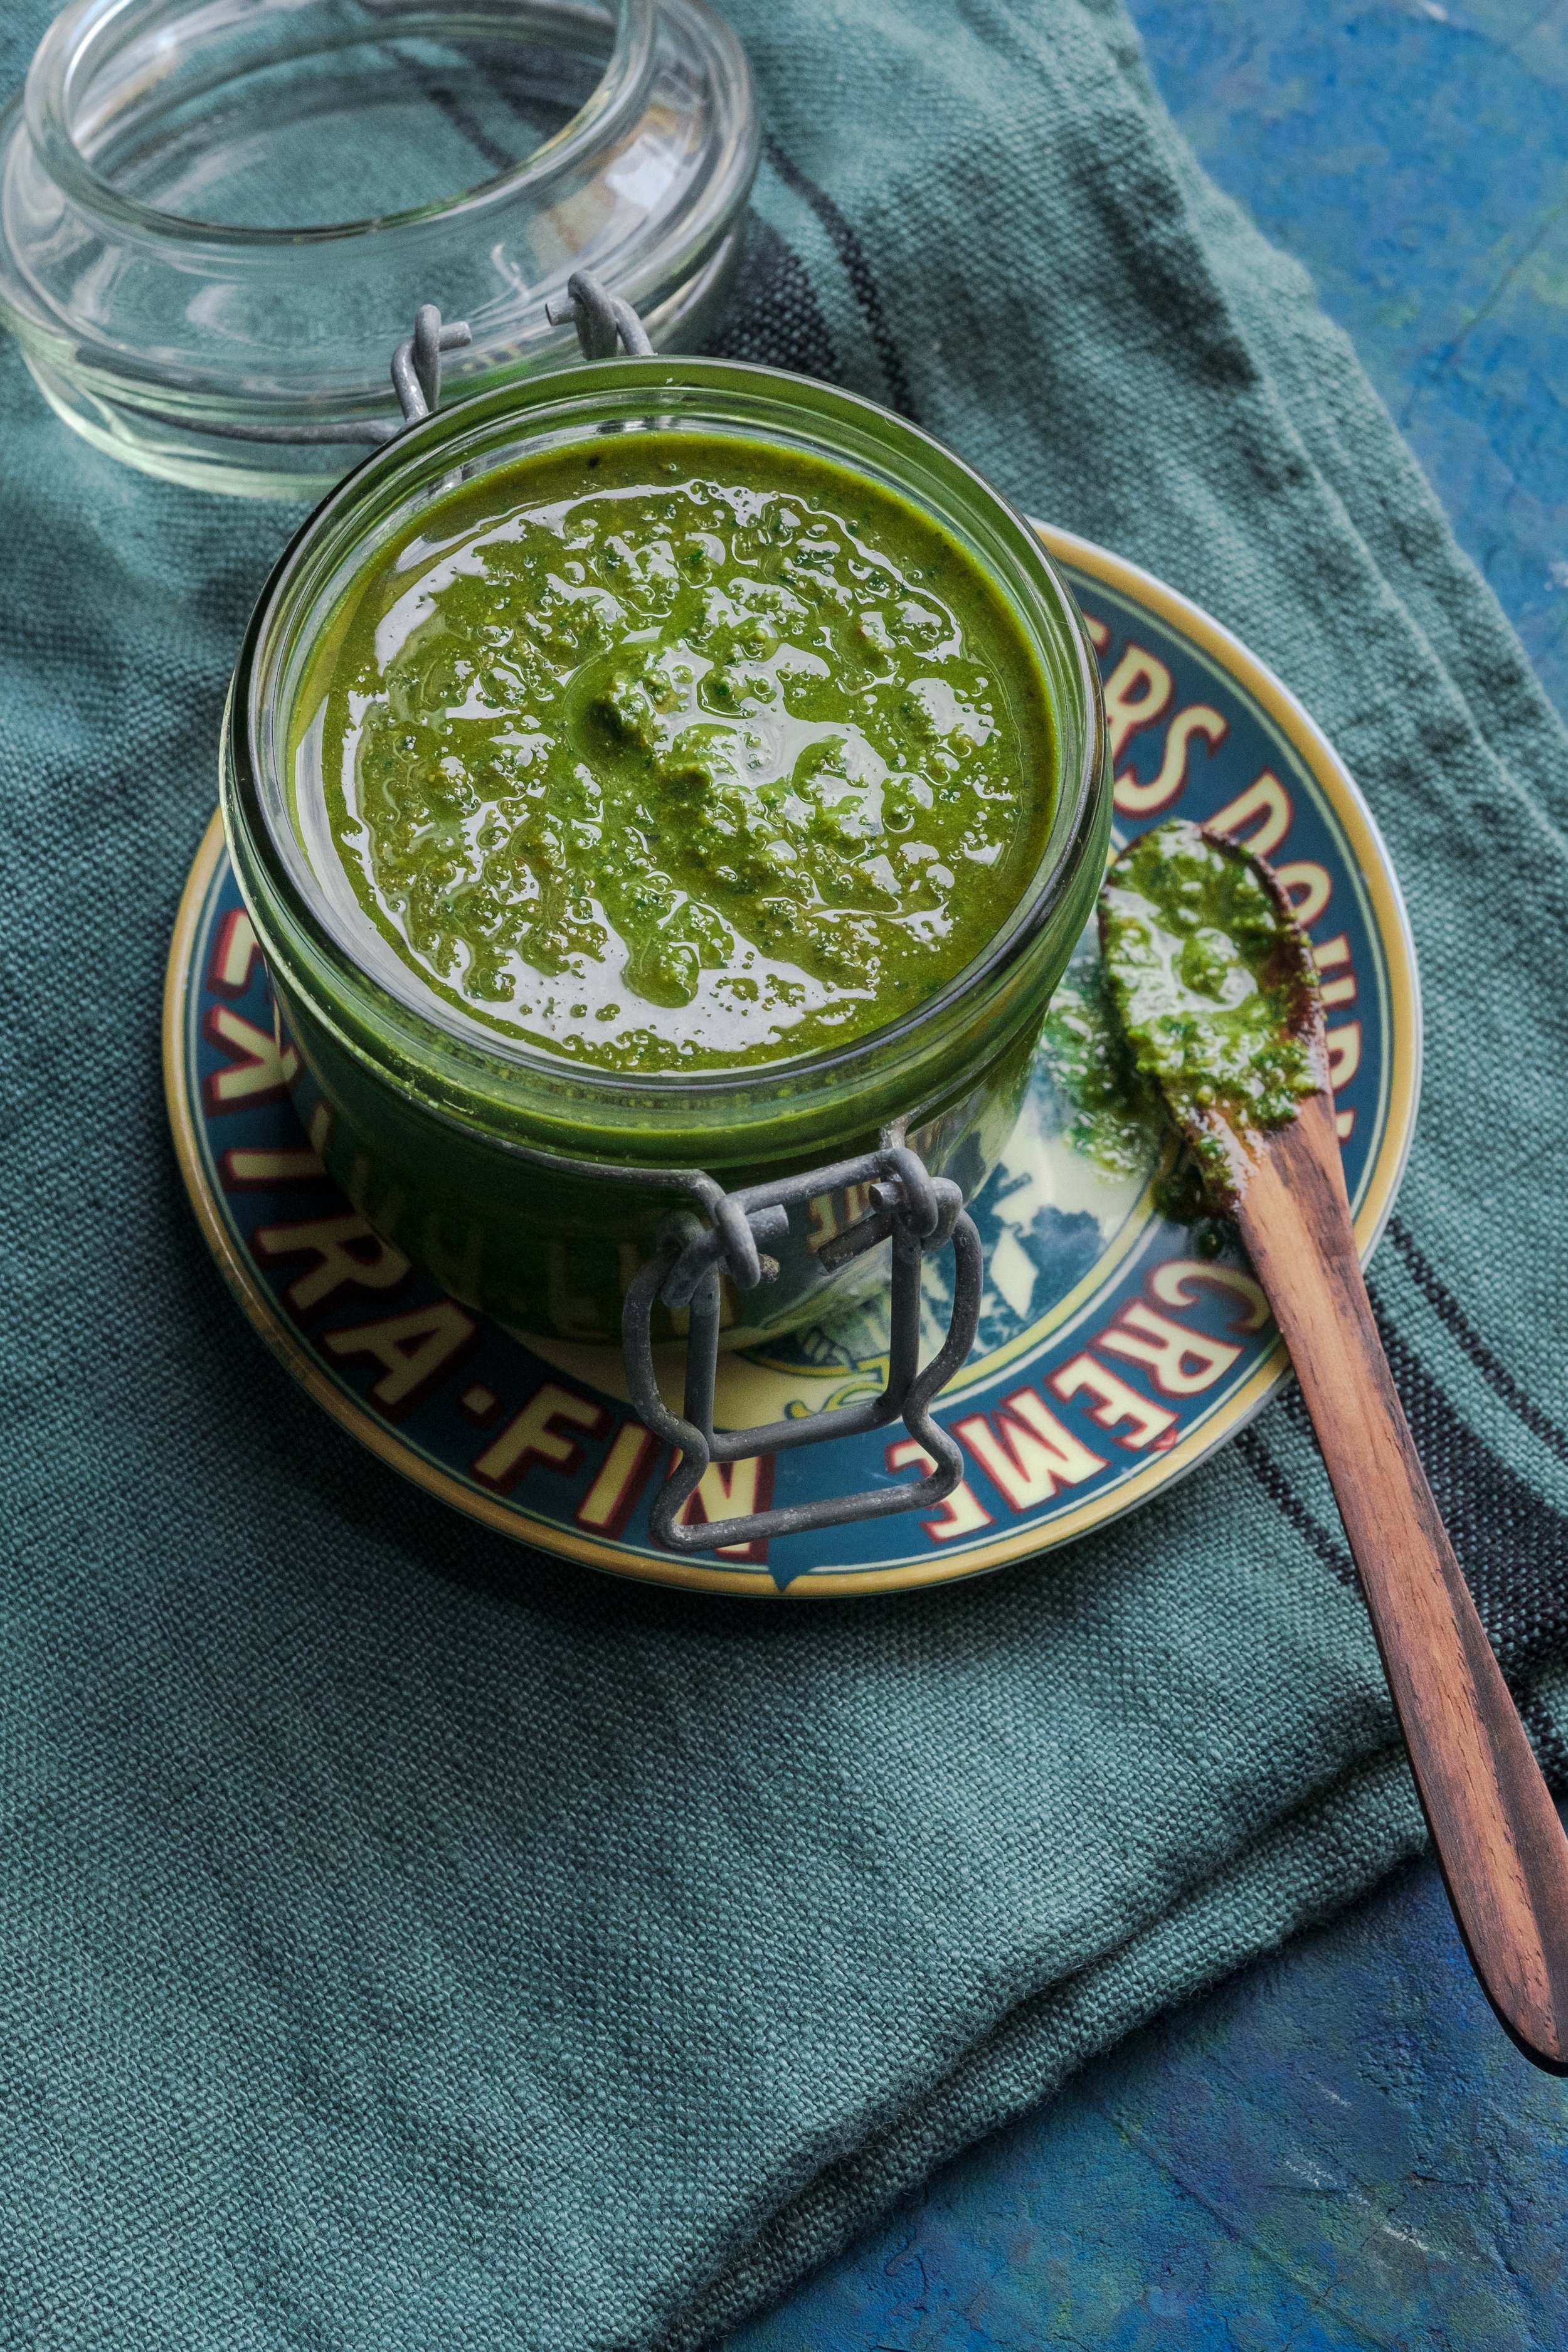
I recently made a few jars from the last of the basil growing in our backyard. Basil pesto is one of my favourite sauces. It’s so aromatic, fresh and flavourful. I’m in love with its vibrant green colour too.

You can find pesto in the deli section of most grocery stores and there are shelf friendly versions too. But the store bought stuff often morphs into a greenish brown colour, which I find quite unappealing. For me, basil pesto is best homemade and eaten straight away.

It’s easy to make, requires no cooking and is freezer friendly. All you need are a handful of high quality ingredients - fresh basil, good olive oil, nuts and garlic - and a method to blend them together into a loose sauce.

This basil recipe takes its form from a recipe in mid-nineteenth century Italy created to showcase the singular flavour of the basil growing on hillsides that meet the sea in the Italian Riviera.

More than 150 years later recipes for basil pesto abound, certainly here in North America, although it only became popular here in the eighties and nineties. “Pesto is the quiche of the eighties,” wrote Nora Ephron in the 1989 film When Harry Met Sally, which is so true.

Blend your ingredients with a food processor or blender. Or make it like an Italian grandmother and blend the ingredients using a mortar and pestle, which is how it was originally made. I’ve never tried this method but many say pesto made this way is the absolute best.

Pine nuts appear in most recipes for basil pesto today but the original called for fresh walnuts, which are usually my first choice too.

I keep my version vegan but it’s common and traditional to add cheese. To this recipe you would add about 1/3 cup of grated parmesan, stirring it in by hand after you’ve blended all the other ingredients.

Easy vegan basil pesto

4 cups basil leaves

1/3 cup walnuts (you can also use pine nuts, cashews, almonds, pumpkin or sunflower seeds)

2 cloves garlic

1/2 cup olive oil

1/4 tsp salt

1/8 tsp black pepper

Rinse and dry your basil leaves.

Place all the ingredients in food processor or blender and pulse the machine, frequently stirring down the mixture. Blend until a loose sauce forms. Try not to over blend as the heat discolours the vibrant green of the basil.

Tips!

To slow oxidation and discolouration pour pesto into a jar and then add a generous film of oil to cover the surface. It should stay green and flavourful for a week or two in the fridge.

Overloaded with pesto (what a great problem!) and need a longer-term storage idea? Freeze pesto in small airtight containers or in ice cube trays. The pesto won’t retain its beautiful bright green colour after defrosting but still a great way to enjoy pesto in the days and weeks ahead.

Basil pesto is great with pasta. Remember to mix a small ladle of cooking water into the pesto just before adding the noodles. This dilutes the concentrated sauce and helps adhere it to the pasta.

You can skip the the nuts if allergies are an issue or use seeds instead. They work just as well.

I use pesto in place of mayonnaise in a sandwich. It’s also wonderful in this recipe, one of my favourites from the archives. But trust me, once you have a jar or two on hand uses for it will suggest themselves.

Getting grounded when things feel out of whack by Suzanne

These past two years have felt like one difficult thing after another, but not so much on a personal scale. Other than our beloved cat Archie dying in November, which broke our hearts, my loved ones and I have been relatively safe and sound with pleasures and privileges galore. 

I’m speaking more in terms of the state of the world beyond my doorstep.

As if the threat of environmental collapse wasn’t enough along came: the pandemic and all its baggage; the racial reckoning of the black & indigenous lives matter movement; and (recently) my city’s three-week occupation by anti-government protesters.

We also bear witness horrendous things happening all over the world in other people’s lives. Like in Ukraine but not only in Ukraine. I useless but also that I have a moral obligation to react.

‘Don’t let the outside world bother you,’ someone advised me when I told her I was feeling rattled, stressed and constantly clenching my jaw. I knew what she meant but I thought to myself, easier said than done!

Donating to causes that work to remedy the world's woes and reaching out with support to those who suffer helps me feel a little more useful but it’s never enough to settle my soul.

I read somewhere that in times of difficulty, hold something beautiful in your heart. Thankfully, photography helps me to do that. It keeps me from attending to anxieties and fears, and focused on the beauty right before my eyes - the vibrant green bok choy that caught my eye when I opened the fridge, my collection of shells or the cookies just pulled from the oven.

It sounds silly but I even view these personal photography projects as political acts.

Still life photographs of seashells and cookies may seem like shallow subject matter in light of the serious matters going on in the world. My photos don't do anything to help refugees or create conditions that can prevent war. But for me these photos represent the opposite of violence. I oppose destruction and these photos are my contribution to the collective spirit of beauty and creation.

Capturing nature’s beauty; watching my sister create beautiful botanical prints by Suzanne

My sister Moira contributed two beautiful botanical prints to our fundraiser to benefit Indigenous women and children.

With nature as her muse and a printing process that combines both art and science she creates prints that instantly connect you with the magical beauty of the natural world.

One of the ways she creates botanical prints is by combining the natural pigments in stems, leaves and flowers with mordants, moisture and heat. Here’s a closer look at her process:

First she treats water colour paper with alum, which helps set the plant dyes on the paper.

Pussy willows and leaves soak in an iron (ferrous sulfate) bath.

Now it’s time to choose which leaves and stems to use and arrange them on the pretreated paper.

The plant matter is then sandwiched in folded paper and clamped tightly between two cutting boards.

The bundles are simmered for 90 minutes.

Drained and left to cool.

The end result is gorgeous impressions left on the paper.

See the two botanical prints we are raffling here .

Art for Good: a fundraiser to benefit Indigenous women and children by Suzanne

Update: I’m happy to report we surpassed our goal and raised $7300 for Minwaashin Lodge. Thank you everyone who donated! The winners of the prints are Judy Faulkner, Ashley Wright, Denise Logan and Carla Campbell.

Nature’s beauty is the subject of four art prints created to be raffled off to benefit Indigenous women and children.

Once again, we invite you to donate to Minwaashin Lodge, the support centre in Ottawa that serves First Nations, Metis and Inuit women and children who are survivors of domestic and other forms of violence, and who may also be suffering the effects of the residential school system. 

The good work done at Minwaashin Lodge includes counselling, culture, employment, as well as children and family programs, and it has a 21-bed shelter for Indigenous women

The response to last year’s fundraiser was so encouraging we decided to do it again. Our goal was $5,000 but in the end we raised more than $6,000. So we upped our goal to $7000. I think we can do it!

Your donation, big or small, means you’re committed to a vision of Indigenous people thriving and willing to reach out to help an organization committed to that vision too.

Donate a $100 or more and your name is entered in a draw to receive one of four framed art prints. The campaign runs for two weeks, after which I draw four names. I can ship the prints anywhere!

Click here to make your donation to Minwaashin Lodge today and get entered for the draw!

If you live in Ottawa the prints will be on display at Bloomfields Flowers on Bank Street until the end of the campaign. Thanks Virginia and Jamie for the support!

Otherwise, here’s a look at the four art prints up for raffle:

Two of the pieces are enlarged canvas prints of my still-life photographs. They measure 20 X 30 inches and are in white wooden floater frames.

My sister Moira contributed two beautiful botanical prints.

One is a cyanotype or “sun print" of a fern, which she made using a 170-year-old photographic printing process that produces prints in a beautiful blue. She used turmeric in the process to get those hints of rich mustard gold. This piece is printed on water colour paper, matted, custom framed and measures 19 x 19 inches.

Moira made the other botanical print by combining the natural pigments in pussy willows with mordants, moisture and heat. It’s printed on water colour paper, matted and custom framed. It measures 12 1/2 x 13 inches. For a closer look at this printing process see here.

Waste not want not; clean wax drippings from candle holders and reuse the wax by Suzanne

clean wax drippings from candle holders and reuse the wax

What do you do when your candle in a votive burns down as far as it can and yet wax remains at the bottom and on the sides?

Do you scrape off the wax with a knife and toss the unused wax away and then run your glass and ceramic votives in the dishwasher to remove the remaining wax residue? Maybe you toss the whole darn thing, candle holder and all, thinking it’s not worth the effort to try and get it clean.

I’m a big fan of repurposing and was in search of a way to remove wax drippings from candle holders and get them shiny clean for future use without harming the candle holder or our plumbing.

I learned the hard way not to use a knife for the job. It left scratches and weakened the holder causing it to break the next time I used it.

Even if I did manage to carefully scrape away most of the wax without scratching, soot and wax residue were still left clinging to the holder.

clean wax drippings from candle holders and reuse the wax

Washing them in hot water in the sink or putting them through the dishwasher might remove residue wax and get candle holders squeaky clean, but it’s a risky method too. Melted wax going down the drain can build up in the pipes and cause major clogging problems.

The oven method (described below) for removing wax is brilliant! It allows you to safely remove wax from multiple holders at once and maybe make a new candle in the process. And it only takes about twenty minutes to clean several holders. No harm to the candle holder or plumbing involved.

This method works with beeswax, soy and paraffin wax. Just make sure you combine all the same type of wax if you’re making a new candle.

Preheat oven to 200 degrees F.

Line a baking sheet with parchment. Place candle holders right side up.

Distribute any leftover wax you’ve collected into the holders. Usually there’s enough to make an entirely new candle depending on the size of votive you use.

clean wax drippings from candle holders and reuse the wax

Place the baking sheet into the heated oven. After about 15 minutes the wax should be melted.

Remove the baking sheet from the oven. The holders will be hot so handle with oven mitts or a dishtowel. Carefully remove any soot or old pieces of wick. You may need to use fork to remove the metal wick-tab on the bottom. If there’s enough melted wax, combine to make a new candle (see below).

Wipe the inside and outside of each candle holder with paper towel until all the melted wax has been removed and they are shiny clean.

The results are so good I rarely if ever have to wash them in soapy water afterwards.

clean wax drippings from candle holders and reuse the wax

To make a new candle from leftover melted wax:

Cut a piece of wicking at least two inches taller than the holder.

Tie one end around a skewer or pencil.

Dip the wick into the melted wax to coat, then press one end to the bottom of the holder.

Rest the skewer on the rim and pour a small amount of wax into the bottom of the holder. Adjust the wick so it stays in the centre. Continue to fill the holder with remaining wax.

clean wax drippings from candle holders and reuse the wax

Let stand until it sets, about one hour.

Alternatively, you could try this method: pour the melted wax into a clean votive and, once the wax is semi- hardened, use a skewer to poke a hole all the way down through the soft wax to the bottom to make room to drop in a wick. Once the wick is in place pour in some more of the melted wax. Let sit at least an hour before you burn.

clean wax drippings from candle holders and reuse the wax

Fudgy chocolate muffins with or without ganache, vegan and gluten free by Suzanne

Fudgy chocolate muffins, vegan and gluten free

This recipe is definitely one for the archives, especially if you like a dense chocolate muffin that’s vegan and gluten free.

These muffins do double duty.

They are nourishing enough to have at breakfast with coffee or tea, especially if you throw some roughly chopped walnuts in the batter.

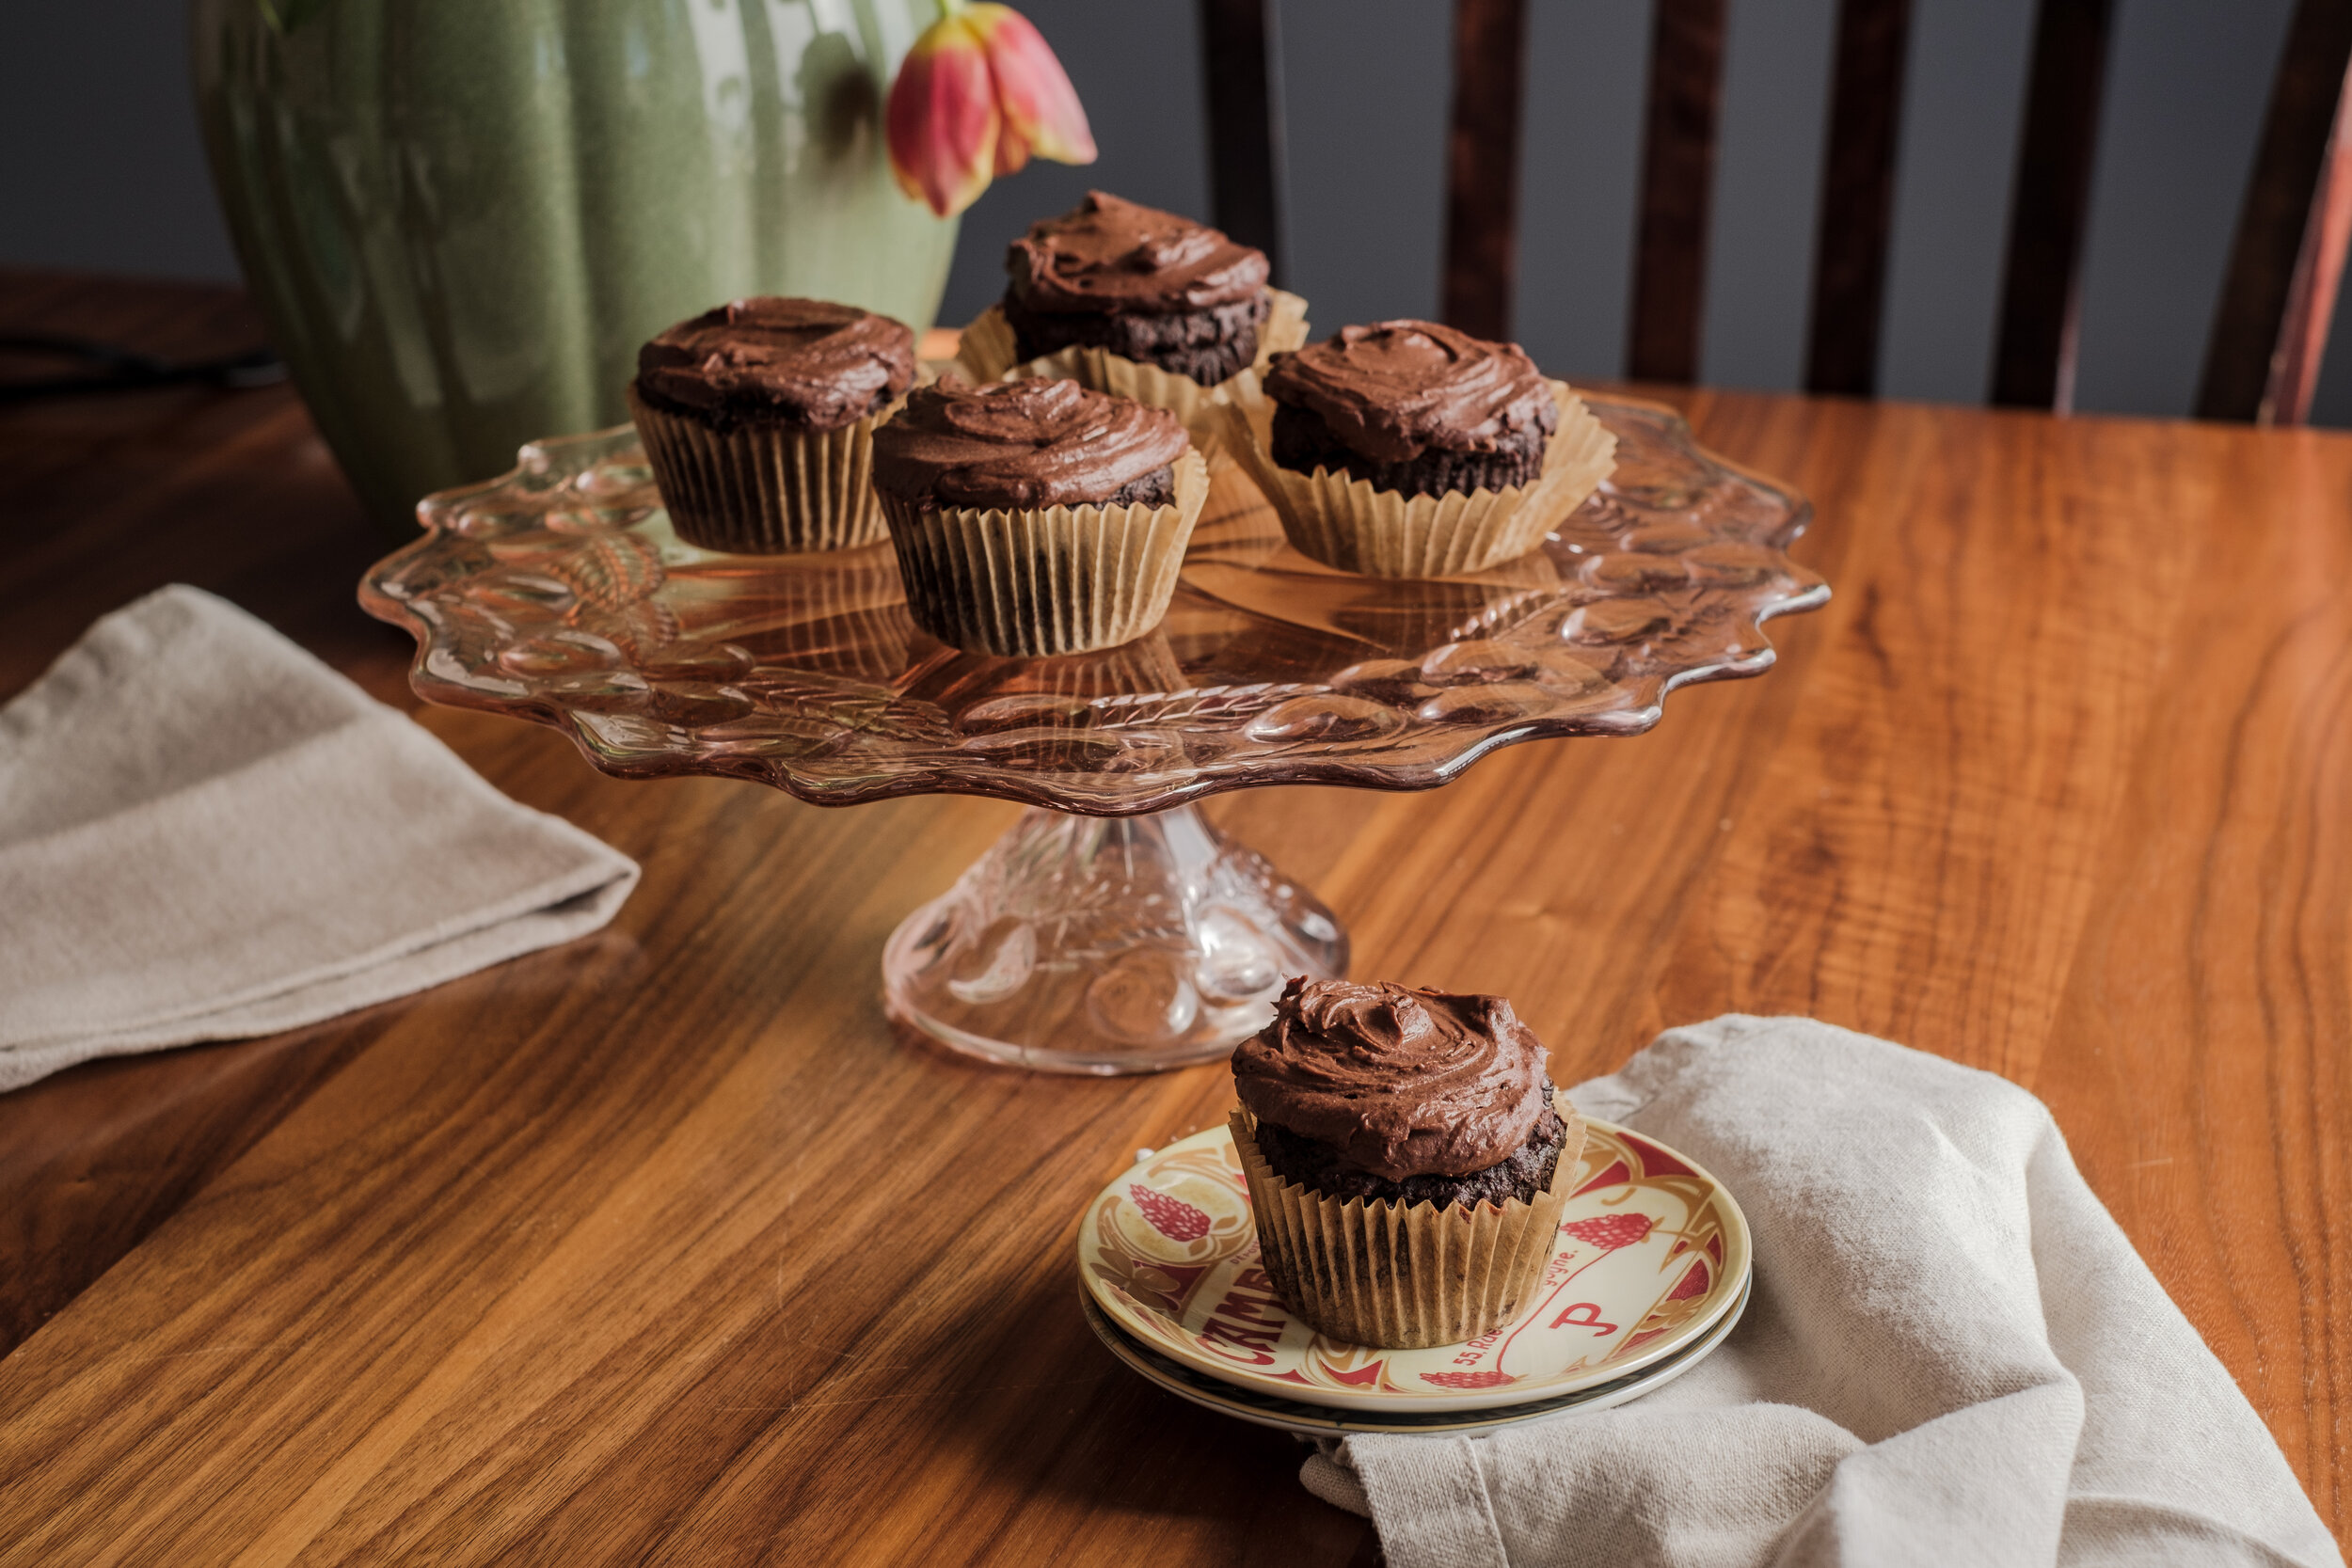
Adding in a handful of dark chocolate chips brings excitement and into cupcake status. You may not feel the need for any frosting at this point. But if inclined, dust with powdered sugar or top with ganache. I’ve included a delicious and reliable vegan ganache recipe, below.

One more thing; you mix these in one bowl.

Fudgy chocolate muffins, vegan and gluten free

Fudgy chocolate muffins, vegan and gluten free

Makes about 11 - 12 muffins. Adapted from this recipe.

2 medium-size ripe bananas

1 tbsp ground flaxseed plus 2 ½ tbsp water (or 1 egg)

1 ½ tsp baking soda

1/2 cup coconut sugar (or brown sugar)

3 Tbsp maple syrup

1/4 cup tahini (or other nut or seed butter of choice)

1/4 tsp sea salt

1/2 tsp pure vanilla extract

2 tbsp melted coconut oil or olive oil (or plant butter)

1/2 cup cocoa powder, sifted if clumpy

1/4 cup plus 2 tablespoons coconut flour (or 3/4 cup rolled oats)

1 1/4 cup almond flour

1/4 cup dark chocolate chips or chopped dark chocolate (optional)

handful of roughly chopped walnuts (optional)

Preheat oven to 350 degrees F and line muffin tin with paper cupcake wrappers.

In a large mixing bowl add banana, ground flaxseed and water. Mash to combine until fairly smooth.

Add baking soda, coconut sugar, maple syrup, tahini, sea salt, vanilla and oil, and whisk vigorously to combine.

Add cocoa powder and whisk again.

Add coconut flour (or gluten-free rolled oats) and stir to combine. Add almond flour, a little at a time, and stir to combine. If you find your batter too dry, thin with a bit of water. If it’s too wet, add a bit more more almond flour. The batter should be scoopable.

Lastly, if using, add chocolate chips and/or walnuts, and stir to combine.

Divide batter between muffin tins, filling almost all the way to the top.

Bake on the centre rack for 25-30 minutes. When cooked, a toothpick inserted into the centre will come out clean.

Let rest for 5 minutes and then transfer muffins to a cooling rack to cool completely. The wrappers come off more easily and the texture is best when completely cooled.

Ganache:

4 oz 100% cocoa baking chocolate

4 tablespoons coconut oil (melted)

2 tablespoons maple syrup

1 cup coconut milk

9 pitted medjool dates

Over very low heat or in a double boiler melt coconut oil and chocolate. Once melted, remove from heat. Add to blender along with coconut milk, maple syrup and dates. Blend until consistency is smooth. You can chill in the fridge before spreading but I prefer to let it sit at room temperature until it becomes thick enough. That way it maintains a more creamy texture, ideal for spreading. 

Fudgy chocolate muffins, vegan and gluten free

Our house burned down when I was a kid and it wasn't traumatic by Suzanne

losing a home to fire

For my recent birthday a friend gave me this delightful pottery plate. She'd seen it on line and immediately thought of me because she knows I lost a home to fire when I was a kid. 

When the day arrived to give me the plate she wondered whether or not it was a good idea; maybe it would provoke tears or unearth unexamined sadness. So before she let me open it she offered a trigger warning.

It turns out I was tickled by her gesture and the plate, too. (Thanks Lee!) I love handmade pottery and the image certainly is meaningful to me.

Losing a home to fire was a significant life event but it would be untrue to say the experience was traumatic. My siblings agree.

In fact, a few years ago when my sister marked the 50th anniversary of the fire with a facebook post, we found ourselves having to reassure friends, in the thread of comments that followed, it wasn’t nearly as bad as they’d imagined.

I don’t know why the expressions of sympathy and sadness in the comments were such a surprise for me. After all, it reads like a harrowing experience. It's late at night, in the middle of nowhere, in the middle of winter. Four young children without their parents are running from a burning home, seeking shelter, barefoot and wearing only pyjamas.

But it wasn't a horrible ordeal and I’ve yet to discover any lasting nasty effects. It wouldn’t even occur to me to categorize it as a sad event. It changed the trajectory of our lives for sure but I can’t say we were traumatized. We ended up moving from our rural community and into a nice town, to a brand new bungalow in a quiet neighbourhood with great neighbours, where we made lifelong friends.

Overwhelmingly, my thoughts and feelings about the experience are of the people who shielded us: Agnes, the babysitter. My parents. The neighbours, relatives and generous people who caught wind of our bad luck and responded with kindness.  As my sister wrote, "I am sure it was horrible for my parents and I'm not saying it was a pleasant experience. I remember a lot of things about that time but I don't ever remember being afraid. I felt very safe and loved."

If we need to assign trauma to anyone that night surely it would be the babysitter. Poor Agnes! What a random and dramatic thing to happen to a 14 year old. Surely high on the list of a babysitter's worst nightmare. It was an electrical problem that sparked the flame that burned our house to the ground so at least she knew it wasn't her fault. Just bad luck.

Sometimes my siblings and I might end up laughing if the night of the fire comes up in conversation.

My wonderful aunt Betty, who answered the door in the middle of the night and took us in, made a place on her brand new couch for my sisters to sleep. Moira ended up peeing in her sleep! 

My sister says peeing on aunt Betty's new couch was the real traumatic event. Far more harrowing than running for our lives.

house on fire.jpg

Taken not long after the house fire.

Do good; a photography project to benefit Indigenous women by Suzanne

Fundraiser for Minwaashin Lodge

My sister, Moira, and I recently collaborated on a project we hope will help raise money to benefit Indigenous women in my community.

I’ve reached out to the many wonderful women I’ve met while living in Ottawa and invited them to join me in raising money for Minwaashin Lodge, a support centre in Ottawa serving Indigenous women and children.

Anyone can donate and any amount is welcomed. However, if you live in Ottawa and donate $100 or more you have the chance to receive some beautiful art prints.

My sister is an artist and professional framer, and she chose three of my photographs to be enlarged and printed. Then she custom framed each piece. Two lucky donors will receive either one large print or the pair of smaller prints

The campaign will run for two weeks after which time I will draw names for the prints.

Here’s the link to join the campaign.

Post script: In the end we raised $6160.00 for Minwaashin Lodge. Thank you to all who donated!

Pears
fundraiser for Minwaashin Lodge

The pear print measures 27 inches x 27 inches.

pears-2.jpg

The framed calendula and marigolds measure 14 inches x 14 inches each. These will be raffled off together.

fundraiser for Minwaashin Lodge
Calendula
fundraiser for Minwaashin Lodge

Orange olive oil muffins, gluten free by Suzanne

gluten free orange olive oil muffins

I find myself clenching my jaw lately. No doubt it’s because I’ve been paying more attention to what’s happening in the world as is reported to me, and digesting the hard truths like the fact that ignorance and white supremacist attitudes run so very deep. I can’t imagine what it’s like trying to live your life in a status quo where you are devalued and feel under threat. I’m very lucky all I feel is a sore jaw.

I find distraction and escape curled up on the couch next to Simon watching a good tv series.

I recently (reluctantly) approved Simon’s choice - a Netflix’s South Korean zombie series called Kingdom. It spans several genres: fantasy, horror, thriller, historical and political drama.

If you can’t imagine watching horror then consider Kingdom as a period piece. It’s set in the 16th century Korea, the sets and costumes are sumptuous, the story is engrossing and the cinematography is incredibly artful. 

But the gore is over the top!

I needed to hide my face in my hands at least twice an episode. But I grew so enthralled with the series I eagerly agreed to watch the second season, which was also excellent.

At first it seemed Kingdom was escapist fantasy but not far into the series it became uncannily relevant to current events.

The show’s main plot is about a mysterious disease spreading rapidly through an unsuspecting populace as government officials hide the terrible truth. And the main characters are constantly running towards hope. See what I mean?  

Rather than the plague itself, the show is about the different characters and how they respond. One of the show’s creators said the question he held in his mind while writing the tv series was: Who is an upright leader that truly thinks of the people in the midst of a crisis brought on by an unknown disease?

And to think the pandemic wasn’t even on the horizon at the time of filming. How serendipitous!

Now for the muffin recipe, which involves adding an entire seedless and unpeeled orange to this recipe.

Orange, olive oil and almond flour play beautifully together and the result is an aromatic, delicious, light, moist muffin dappled with tiny dots of orange. The orange flavour is predominant yet also mellow.

I haven’t experimented but I imagine you could use any type of orange, as long as you remove any seeds. You could also bake this in a loaf pan and adjust the baking time to about 10 minutes longer. To serve as dessert, decorate with icing and flower petals, which I just might try.

gluten free orange olive oil muffins

Gluten Free Orange Olive Oil Muffins (makes approx 8 large muffins)

One seedless orange, whole and unpeeled

3 eggs

1/2 cup maple syrup

1/3 cup olive oil

1/2 tsp sea salt

1/4 cup coconut flour

1 1/2 cups almond flour

1 tsp baking soda

Place orange in pot of water and bring to a boil.

Reduce heat, cover and allow to simmer for 1 hour.

Drain water and allow orange to cool.

Preheat the oven to 350 F' and grease a muffin tin or use liners.

Slice orange into sections and remove any seeds. Add to food processor along with eggs, oil and maple syrup. Blend well.

In a separate bowl add the coconut flour, almond flour, baking soda and salt. Whisk well.

Add wet mixture to dry mixture and combine well.

Distribute the batter between cups. Bake on the middle rack for 25 to 30 minutes or until a toothpick comes out clean. 

Let cool before removing from tin. 

gluten free orange olive oil muffins

Reflecting on my visit to a slavery plantation, six years later by Suzanne

reflecting on my visit to cragfont mansion

I’ve been thinking lately about the time I toured a plantation museum in Tennessee in 2014.

I wrote about what a strange experience it was to discover you can get a guided tour of a plantation museum in America and learn next to nothing about slavery.

Our tour guide that day was warm and friendly and he told us all kinds of stories but he didn’t invite us to discuss slavery.

His discussion focussed on the landscape, architecture, design features and fine furniture of the mansion.

We also learned lots about the greatness of the plantation owners but next to nothing about the people who cleared the land and built the plantation. I don’t think he even mentioned how the wealth, so clearly on display, depended on the forced labour of enslaved people.

cragfont mansion

Today, a handful of plantation museums in America attempt to address slavery but not without pushback. A quick scan of the comment sections of plantation tour websites reveals that while most visitors are grateful for having their eyes opened to the truth about slavery, there are others who would rather not hear about it and get deeply annoyed when they do.

They feel threatened by tours that attempt to reframe the past to include the lived experience of the enslaved peoples who worked the plantations. These visitors, overwhelmingly white, complain these tours are biased, depressing or even a racist attack on white people.

looking out at the stone wall built by the enslaved people at cragfont mansion

“Would not recommend. Tour was all about how hard it was for the slaves,” wrote one reviewer of the Whitney Plantation in Louisiana.

“… this was my vacation and now we are crossing plantation tours off our list, it was not what we expected. I’ll go back to Louisiana and see some real plantations that are so much more enjoyable to tour,” wrote another.

These visitors view plantation museums as romanticized tourist attractions or as wedding venues. Quickly search "plantation weddings" and see what I mean. They’re attached to the myth that says plantations were idyllic places. They want a feel-good plantation story much like the one I got when I toured Cragfont.

wall built by enslaved people at cragfont mansion

A change in the plantation narrative clearly upsets some visitors but so do changes to the vocabulary used to tell plantation stories.

Words obscure or illuminate the truth. They can shift the way we view the past. Some, for example, find labour camp a more accurate description than plantation. Others find it very one-sided and disruptive.

If I were to write that blog post today I would be more thoughtful with my words.

I would write enslaved Africans and not slaves (as I did six years ago) to describe the people forced to work the tobacco plantation at Cragfont.

The words enslaved Africans dignifies their humanity and remind us that slavery is something done to people. Those forced to work the labour camps were African citizens kidnapped from their homes. Men, women and children. Mothers and fathers.

stone wall built by enslaved people at cragfont mansion

The history of slavery is hard to look at. It’s unpleasant and heartbreaking and not unlike learning about the Holocaust. Germans are not proud of their history, I’m sure, but they at least seem to own it. They have as many as 24 Holocaust museums and monuments.

There are only a handful of plantation museums in America that try and address the horrors of slavery. There are even fewer completely dedicated to the subject. I hope this changes and people, especially white people, grow the courage to face the truth about the past no matter how uncomfortable it is.

Black lives today depend on it.

In terms of plantation stories that are feel-good, I leave you with this one.

one of the oldest dollhouses in north america, at cragfont mansion.

This and that by Suzanne

This post comes in the middle of the world’s largest protest around civil rights.

Society appears ready to change; public support for the Black Lives Matter movement has increased almost as much in the last two weeks as it has in the last two years!

Black and indigenous people have been calling out racism for generations and finally it seems we are hearing.

For a long time I thought there wasn’t much I could do about racial injustice and trauma other than to empathize, feel sad and be a decent human being. Now I know I need to figure out how I can be a useful part of the change that’s afoot. I need to do more. I hope you’re knowing this too.

Here are five things that caught my attention lately:

1. this organization

Minwaashin Lodge

because it’s right here in my community and supporting it is a good place to start.

2. these chives

chives

because they are both beautiful and edible.

3. this cat

cat in variegated grass

because he recently turned one year old.

4. these peonies

bouquet of pink peonies

because i have a neighbour who shares.

5. this window box 

nasturtiums in window box

Tahini brownies, flourless by Suzanne

tahini brownies, flouless

Chocolate and tahini are a winning combination and these brownies are the proof.

Two whole cups of tahini - a paste made from ground toasted sesame seeds, which comes from middle eastern cuisine - disappear into these brownies making them moist and fudgy with a crackly, crinkly crust on the top.

tahini brownies, flourless

Here are a few tips before you give this recipe a try:

Be mindful of the baking time so that you get a nice balance between cakey and gooey. The difference between a baking time of 23 minutes and 25 minutes can be significant! Fudgy and wet are not the same thing, so avoid under baking.

On the other hand, if you have a “hot” oven and it’s been 23 minutes, and you see the edges getting darker, pull them from the oven and let them rest.

Allow them to COMPLETELY cool before slicing, otherwise they can lose their integrity.

Cut them in bite size squares and eat with your hands as a mid-afternoon snack. Cut into larger squares or triangles and serve on a pretty plate with a scoop of ice cream for a more elegant presentation.

These brownies keep for several days in an airtight container. They also freeze well. Take one from the freezer and eat at the half-thawed stage or briefly warm in the microwave first.

To make the tahini flavour really shine make these a day in advance of serving. The colour and flavour of the tahini intensifies over time.

tahini brownies, flourless

Tahini brownies, flourless (original recipe here)

2 cups tahini

2 eggs

1 1/4 cup maple syrup

1/2 cup cocoa

1 teaspoon baking soda

1 teaspoon salt

1 tablespoon vanilla extract

1 cup dark chocolate (roughly chopped) or chocolate chips, optional

Preheat oven to 350 F.

Line an 8×8 pan with parchment paper with enough over hang to allow you to lift brownies out of the pan.

In a bowl, stir together tahini, eggs, maple syrup and vanilla extract.

Add cacao, baking soda, salt and stir until batter is formed.

Slowly fold in chopped chocolate or chocolate chips, if using, and pour into prepared pan.

Bake for 25 minutes on the middle rack of your oven.

Remove from oven and allow to cool in the pan for 10 minutes. Then, holding on to the ends of the parchment, carefully lift brownies out of pan by holding on to the ends.

Allow to completely cool before cutting.

tahin brownies, flourless
tahini brownies, flourless

Honey tahini cookies by Suzanne

honey tahini cookies

Tahini is an essential ingredient in hummus but it makes desserts sing too.

Tahini is a creamy paste made with ground toasted sesame seeds and a common ingredient in Middle Eastern cuisine. If you’ve never added tahini to anything sweet this cookie recipe is a good place to start.

Think of this cookie as peanut butter cookie’s exotic cousin! The tahini provides a wonderful nutty and salty undertone to match the honey’s intense flavour. Tahini is also nutrient-dense. It has more protein than milk and most nuts, is a rich source of B vitamins, vitamin E, and important minerals, such as magnesium, iron and calcium.

honey tahini cookies

Here are a few notes about this recipe:

Play with the crisp to chewy ratio by adjusting the size and thickness of the rounds of cookie dough as well as the baking time.

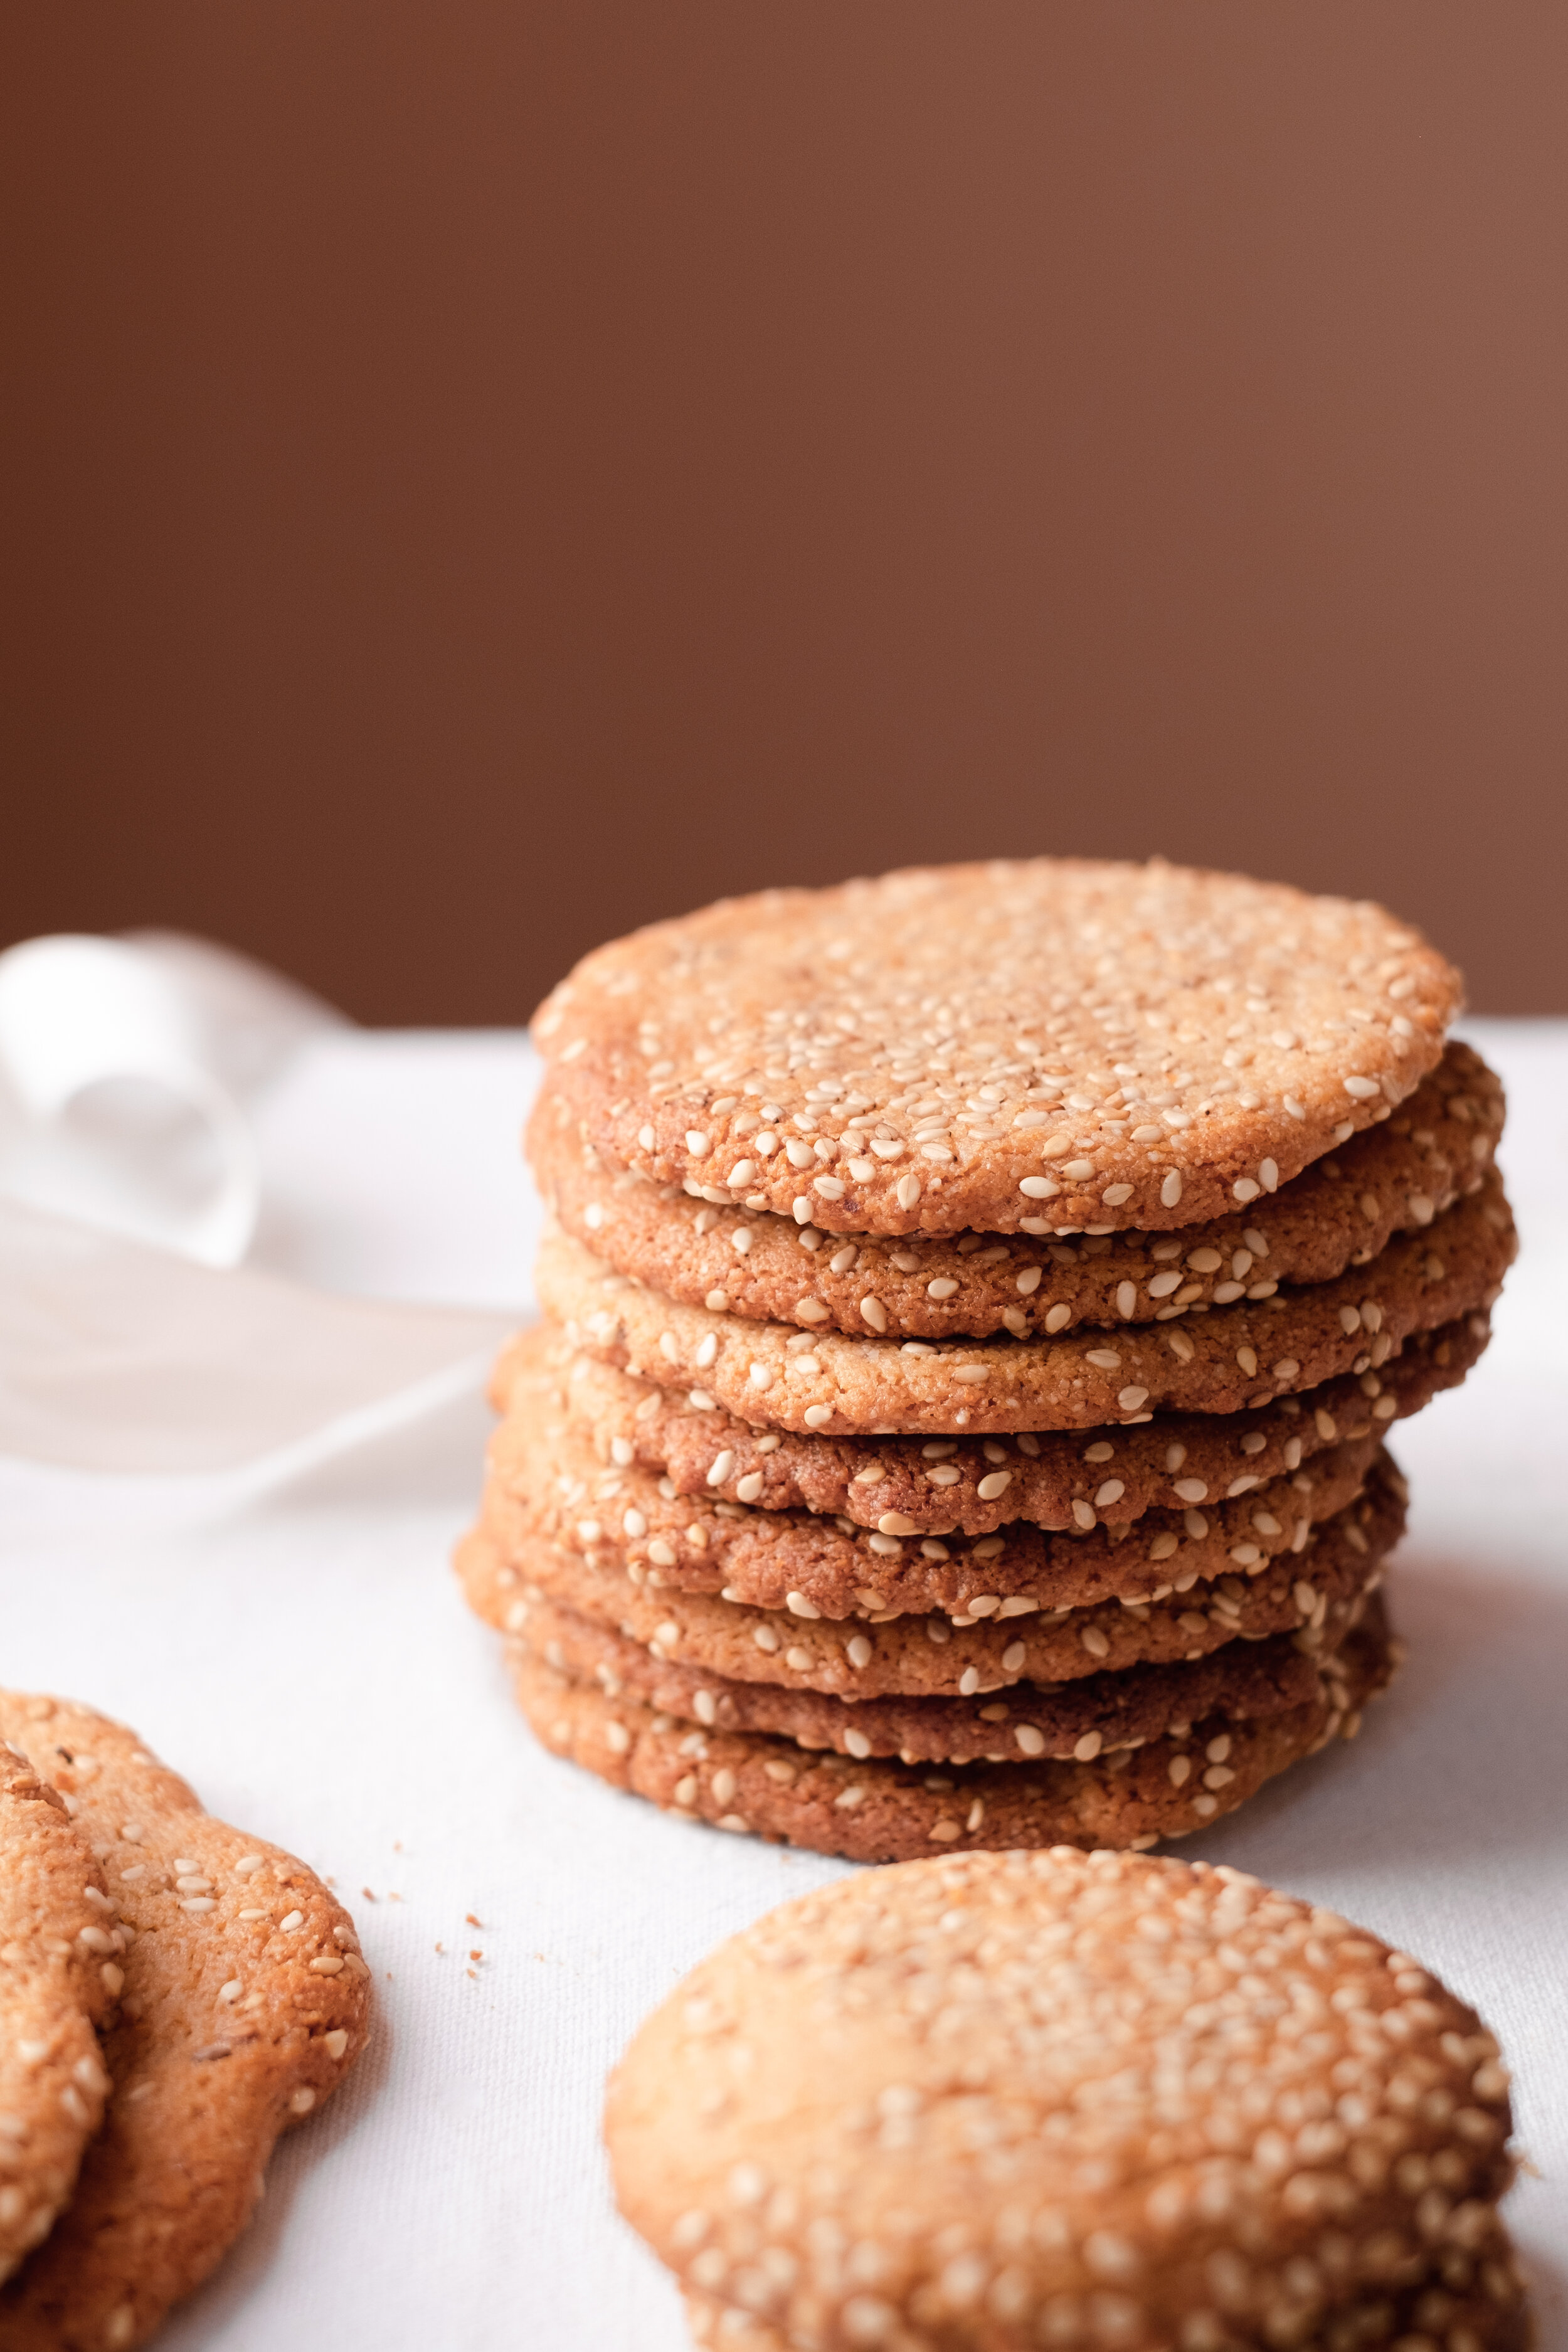
I like mine crisp and thin. My sweet spot is a cookie flattened by hand to about a 2 inch diameter, slightly less than a 1/4 inch thick and baked for 7 minutes.

I use creamed honey and I swear it makes for a lighter and crispier cookie but liquid honey does the trick too.

If you can’t imagine these without chocolate, you can (once cooled) drizzle cookies with gently melted dark chocolate.

honey tahini cookies
honey tahini cookies drizzled with melted chocolate

Honey tahini cookies

1/2 cup sesame seeds

1 1/2 cups almond flour

1/2 teaspoon baking soda

1/4 teaspoon sea salt

1/3 cup creamed honey (liquid honey will do too)

1/3 cup tahini

1 teaspoon vanilla extract

optional : 1/3 cup dark chocolate, melted

Preheat the oven to 350° F and line 2 baking sheets with parchment paper.

Spread the sesame seeds in a plate or bowl.

In a small bowl, whisk the almond flour, baking soda and salt.

In a larger bowl, mix the honey, tahini and vanilla extract.

Add the dry ingredients to the wet ingredients and stir until well incorporated.

Scoop the dough into 1 inch balls. Roll the balls in the sesame seeds, place on baking sheets about 2 inches apart and flatten.

Bake the cookies for about 7 minutes, or until the bottoms are golden; shift the pans from top to bottom halfway through. Transfer the cookies to a rack and let cool before serving. Drizzle with melted chocolate if desired.

honey tahini cookies

Stuffed sweet potatoes with beans and guacamole by Suzanne

stuffed sweet potatoes with beans and guacamole

This vegetarian dish looks wonderful and tastes delicious. The combination of roasted sweet potatoes, spicy beans and tangy guacamole is a treat for eye and palate. You can’t help but stop and admire how it looks on your plate before digging in.

I also appreciate the ease with which you can adapt this recipe to suit your tastebuds. Play with the amount of spice or with substitutes. If you don’t have cayenne, you might use chilli powder or the slightly milder paprika. If you don’t care for feta, top with grated cheddar, etc.

Another great thing is you can prepare the components of this dish in advance. Even the guacamole can be prepared ahead of time, although it might lose some of its vibrant colour the longer it’s stored.

If preparing in advance of serving, store the potatoes, bean mixture and guacamole, separately, in air-tight containers in the fridge for up to three days. When it’s time to eat, reheat the beans in a skillet and the potatoes in the oven, assemble and top with guacamole and garnishes.

The recipe below serves four people but adjusts easily to feed more. I know for a fact this recipe is great to feed and please a hungry crowd. Simon and I prepared it for a gathering of 30 friends and family this past summer. It got rave reviews. Being able to prepare things in advance made it so much easier.

We served it alongside rice and a chunky homemade salsa.

stuffed sweet potato with beans and guacamole

Stuffed sweet potatoes with beans and guacamole (adapted from this recipe)

Spice-rubbed sweet potatoes:

2 medium sweet potatoes (about 9 ounces each)

1 tablespoon melted virgin coconut or vegetable oil

1/2 teaspoon salt

1/4 teaspoon cayenne pepper

1/4 teaspoon ground cumin

Bean mixture:

1 tablespoon melted virgin coconut oil or vegetable oil

1/2 teaspoon salt

1/4 teaspoon cayenne pepper

1/4 teaspoon ground cumin

1 red onion, coarsely chopped

1 garlic clove, finely chopped

1 (15.5-ounce) can black beans, rinsed, drained

3/4 cup vegetable broth

2 cups fresh baby spinach (frozen works, too.)

1 tablespoon fresh lime juice

Guacamole:

2 ripe avocados

3 tablespoons chopped cilantro

1 clove of garlic, finely chopped

2 tablespoons fresh lime juice

1 medium size tomato, diced

salt and pepper to taste

Topping:

1/4 cup crumbled feta cheese

chopped cilantro for garnish.

stuffed sweet potato with beans and guacamole

Preheat oven to 450°F.

Cut potatoes in half lengthwise and rub with oil and spice mixture. Arrange cut side up on a rimmed baking sheet lined with parchment. Roast until fork-tender, about 25 minutes.

Heat oil in a skillet over medium heat. Add onion and garlic. Cook and stir until onion starts to turn translucent, 2–3 minutes. Add beans, broth, salt, cayenne and cumin. Cook until liquid is reduced and beans soften, about 10 minutes.

Mash avocado and garlic in a bowl until smooth. Stir in chopped tomato, cilantro, lime juice, salt and pepper.

Add spinach and lime juice to bean mixture. Cook until spinach wilts, about 30 seconds.

Using the back of a spoon, gently push down in centre of each potato half to create a canoe.

Spoon bean mixture into potato halves, then top evenly with guacamole, feta cheese and remaining cilantro.

stuffed sweet potato with beans and guacamole

Backyard updates by Suzanne

backyard.jpg

A few months ago I shared with you our backyard space when it was freshly landscaped. Since then the garden has grown and we made updates, small touches here and there, and one major project completed.

Before winter arrives and blankets the yard in snow, have a peek at where things are at now.

backyard.jpg

The biggest job was painting the shingles on the back and the side of the house. Two of us did it over a couple of days and we couldn’t be more pleased with the result.

A long strand of lights we complements the sconces on either side of the door and add some twinkle. We might add another string and maybe criss-cross them.

backyard-13.jpg
backyard-3.jpg
backyard-12.jpg

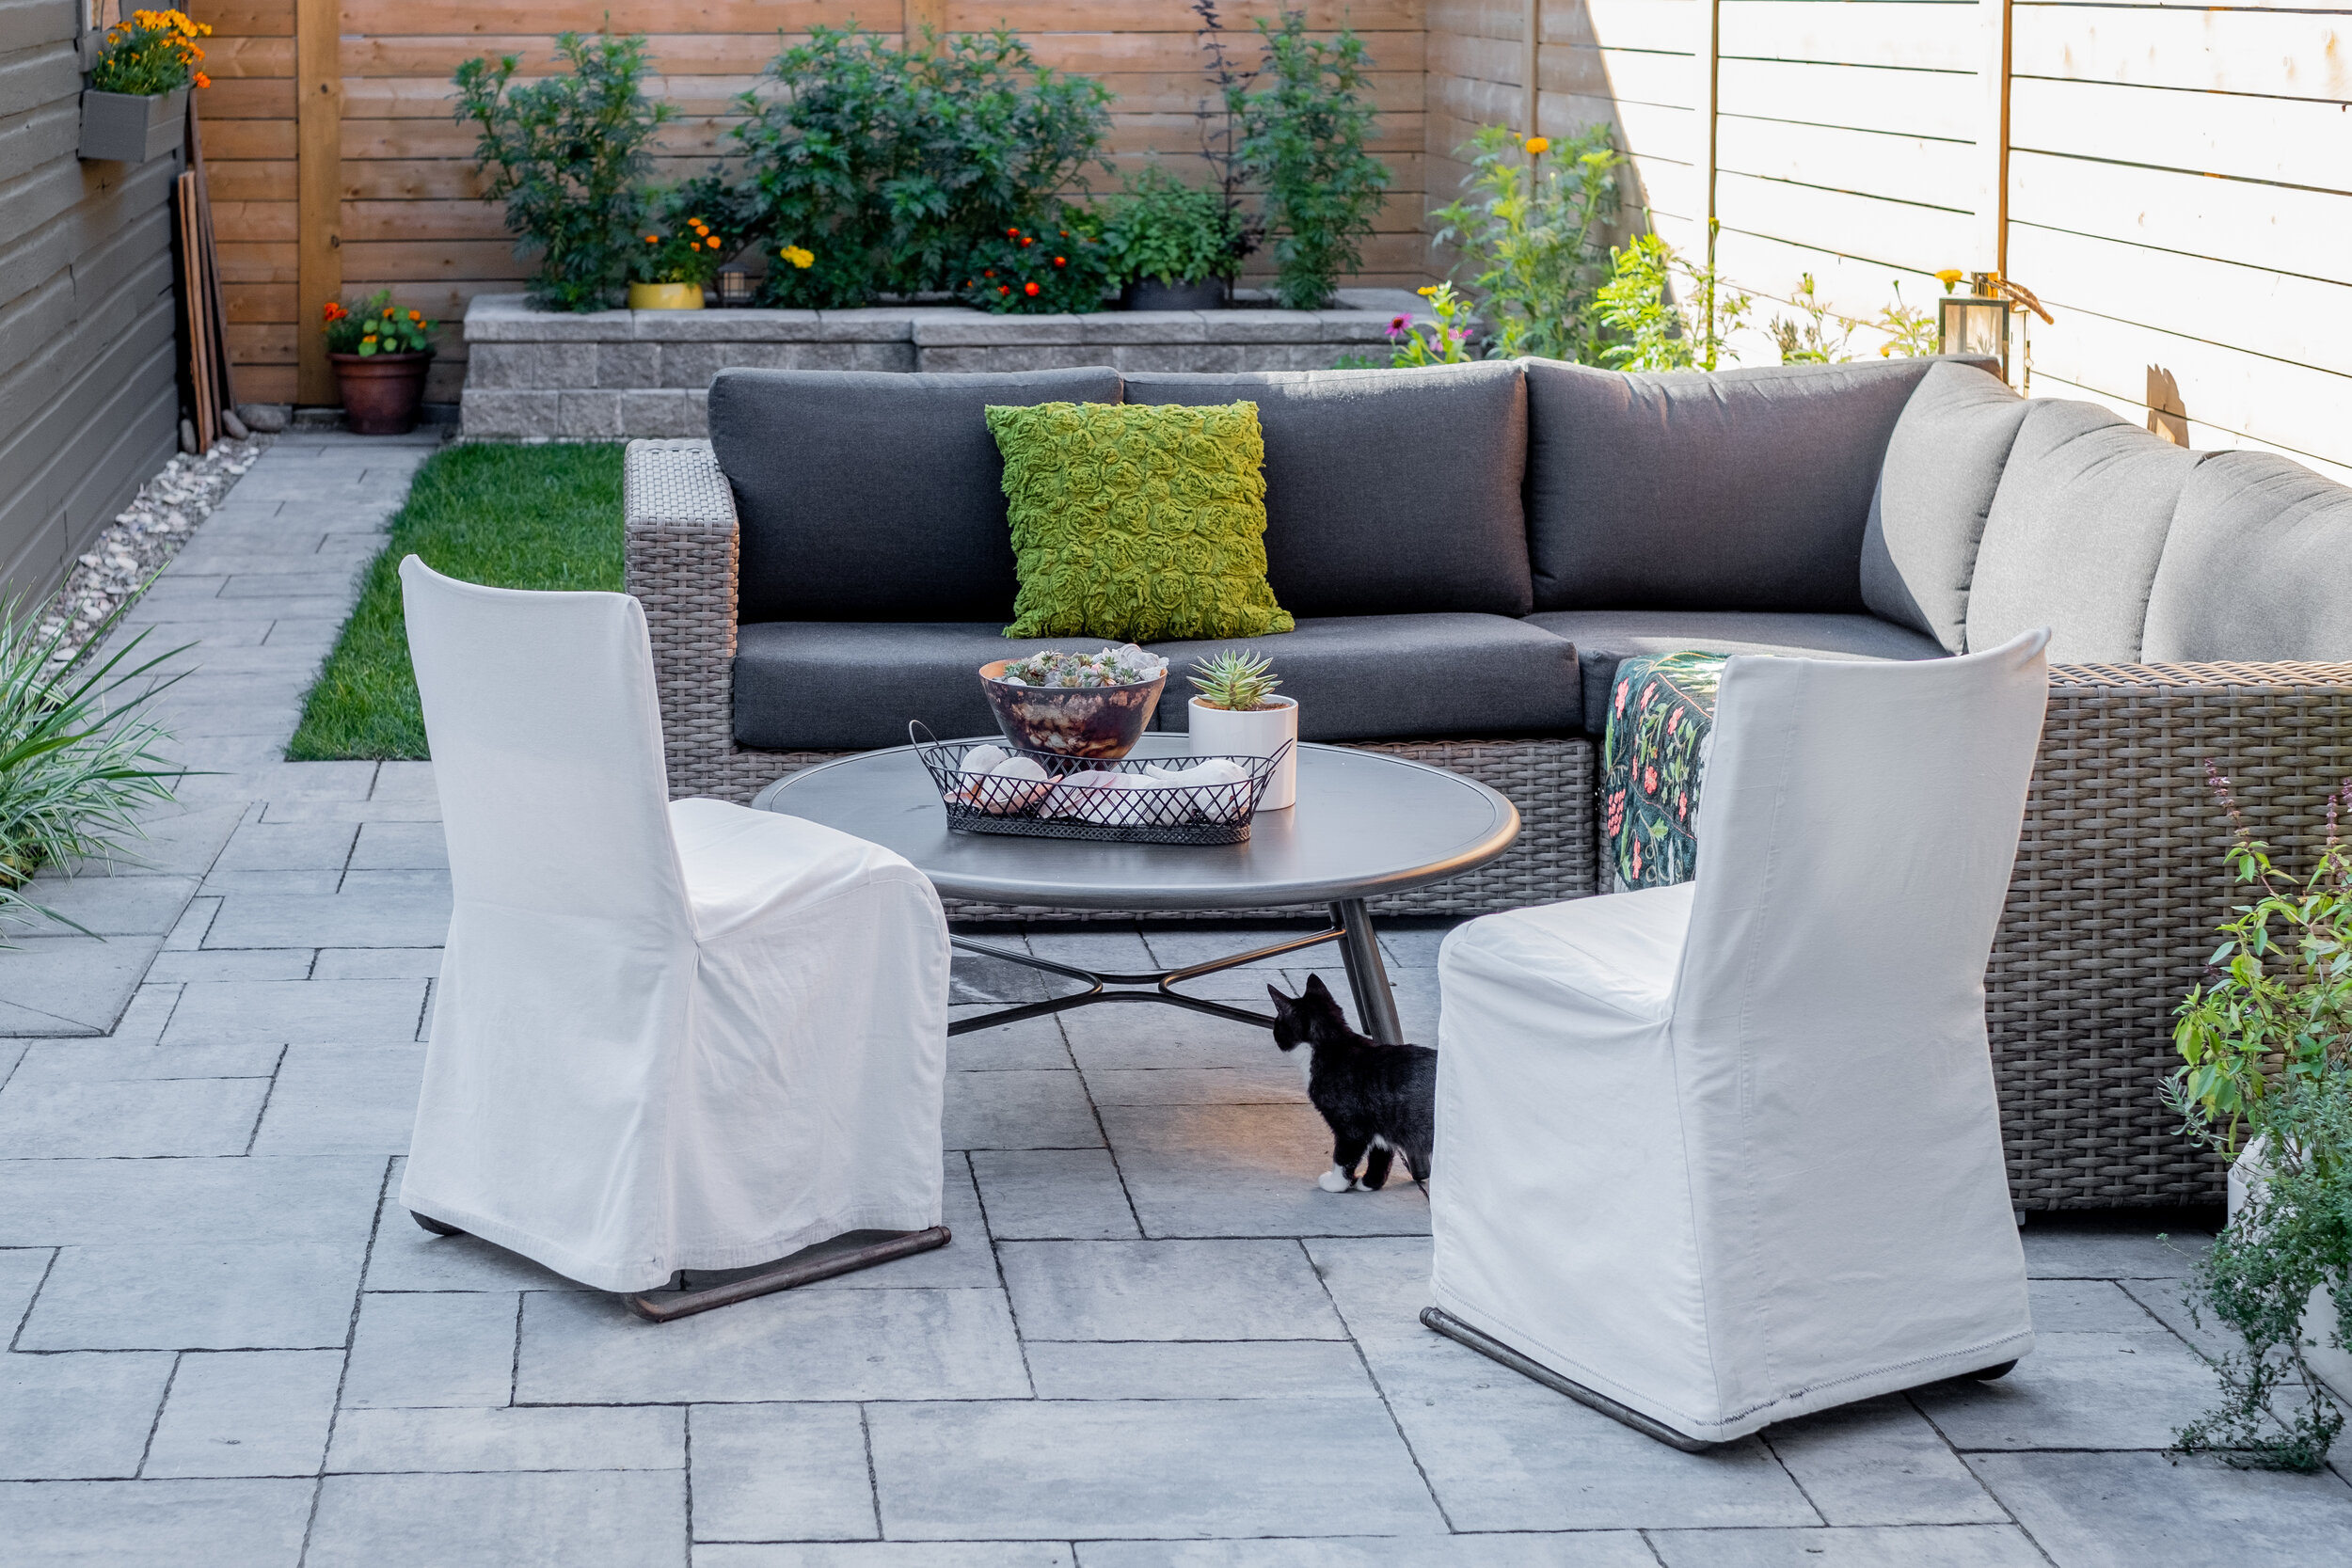
For furniture we went with a large sectional and a coffee table instead of dining set. We have two folding tables and a dozen folding chairs in the shed when the need arises for that kind of gathering. Mostly, we like to lounge!

backyard-11.jpg
backyard-23.jpg

Two mirrors I had kicking about now hang on the wall of the shed. I like the way sunlight bounces off them and creates spotlights in the opposite flower bed. I like how they offer different perspectives on the yard.

backyard.jpg

I found a way to jazz up the area along the base of the shed. Shells, stones and sea glass collected throughout our travels over the years are a natural mix with the pea stone, and a nice way to display these souvenirs. I was so happy I thought to do this. They hold such positive associations for me and the ocean never feels far away

backyard-10.jpg
backyard-6.jpg

Things grow well in this yard. The tall grass in the below ground planters was initially a place holder until I made a final decision about what to plant. Now that the grass has filled in I love it. The cats do, too, especially our new kitten. The grass amuses him to no end and is able to withstand his rough play. The cats also like to chew on the variegated stuff.

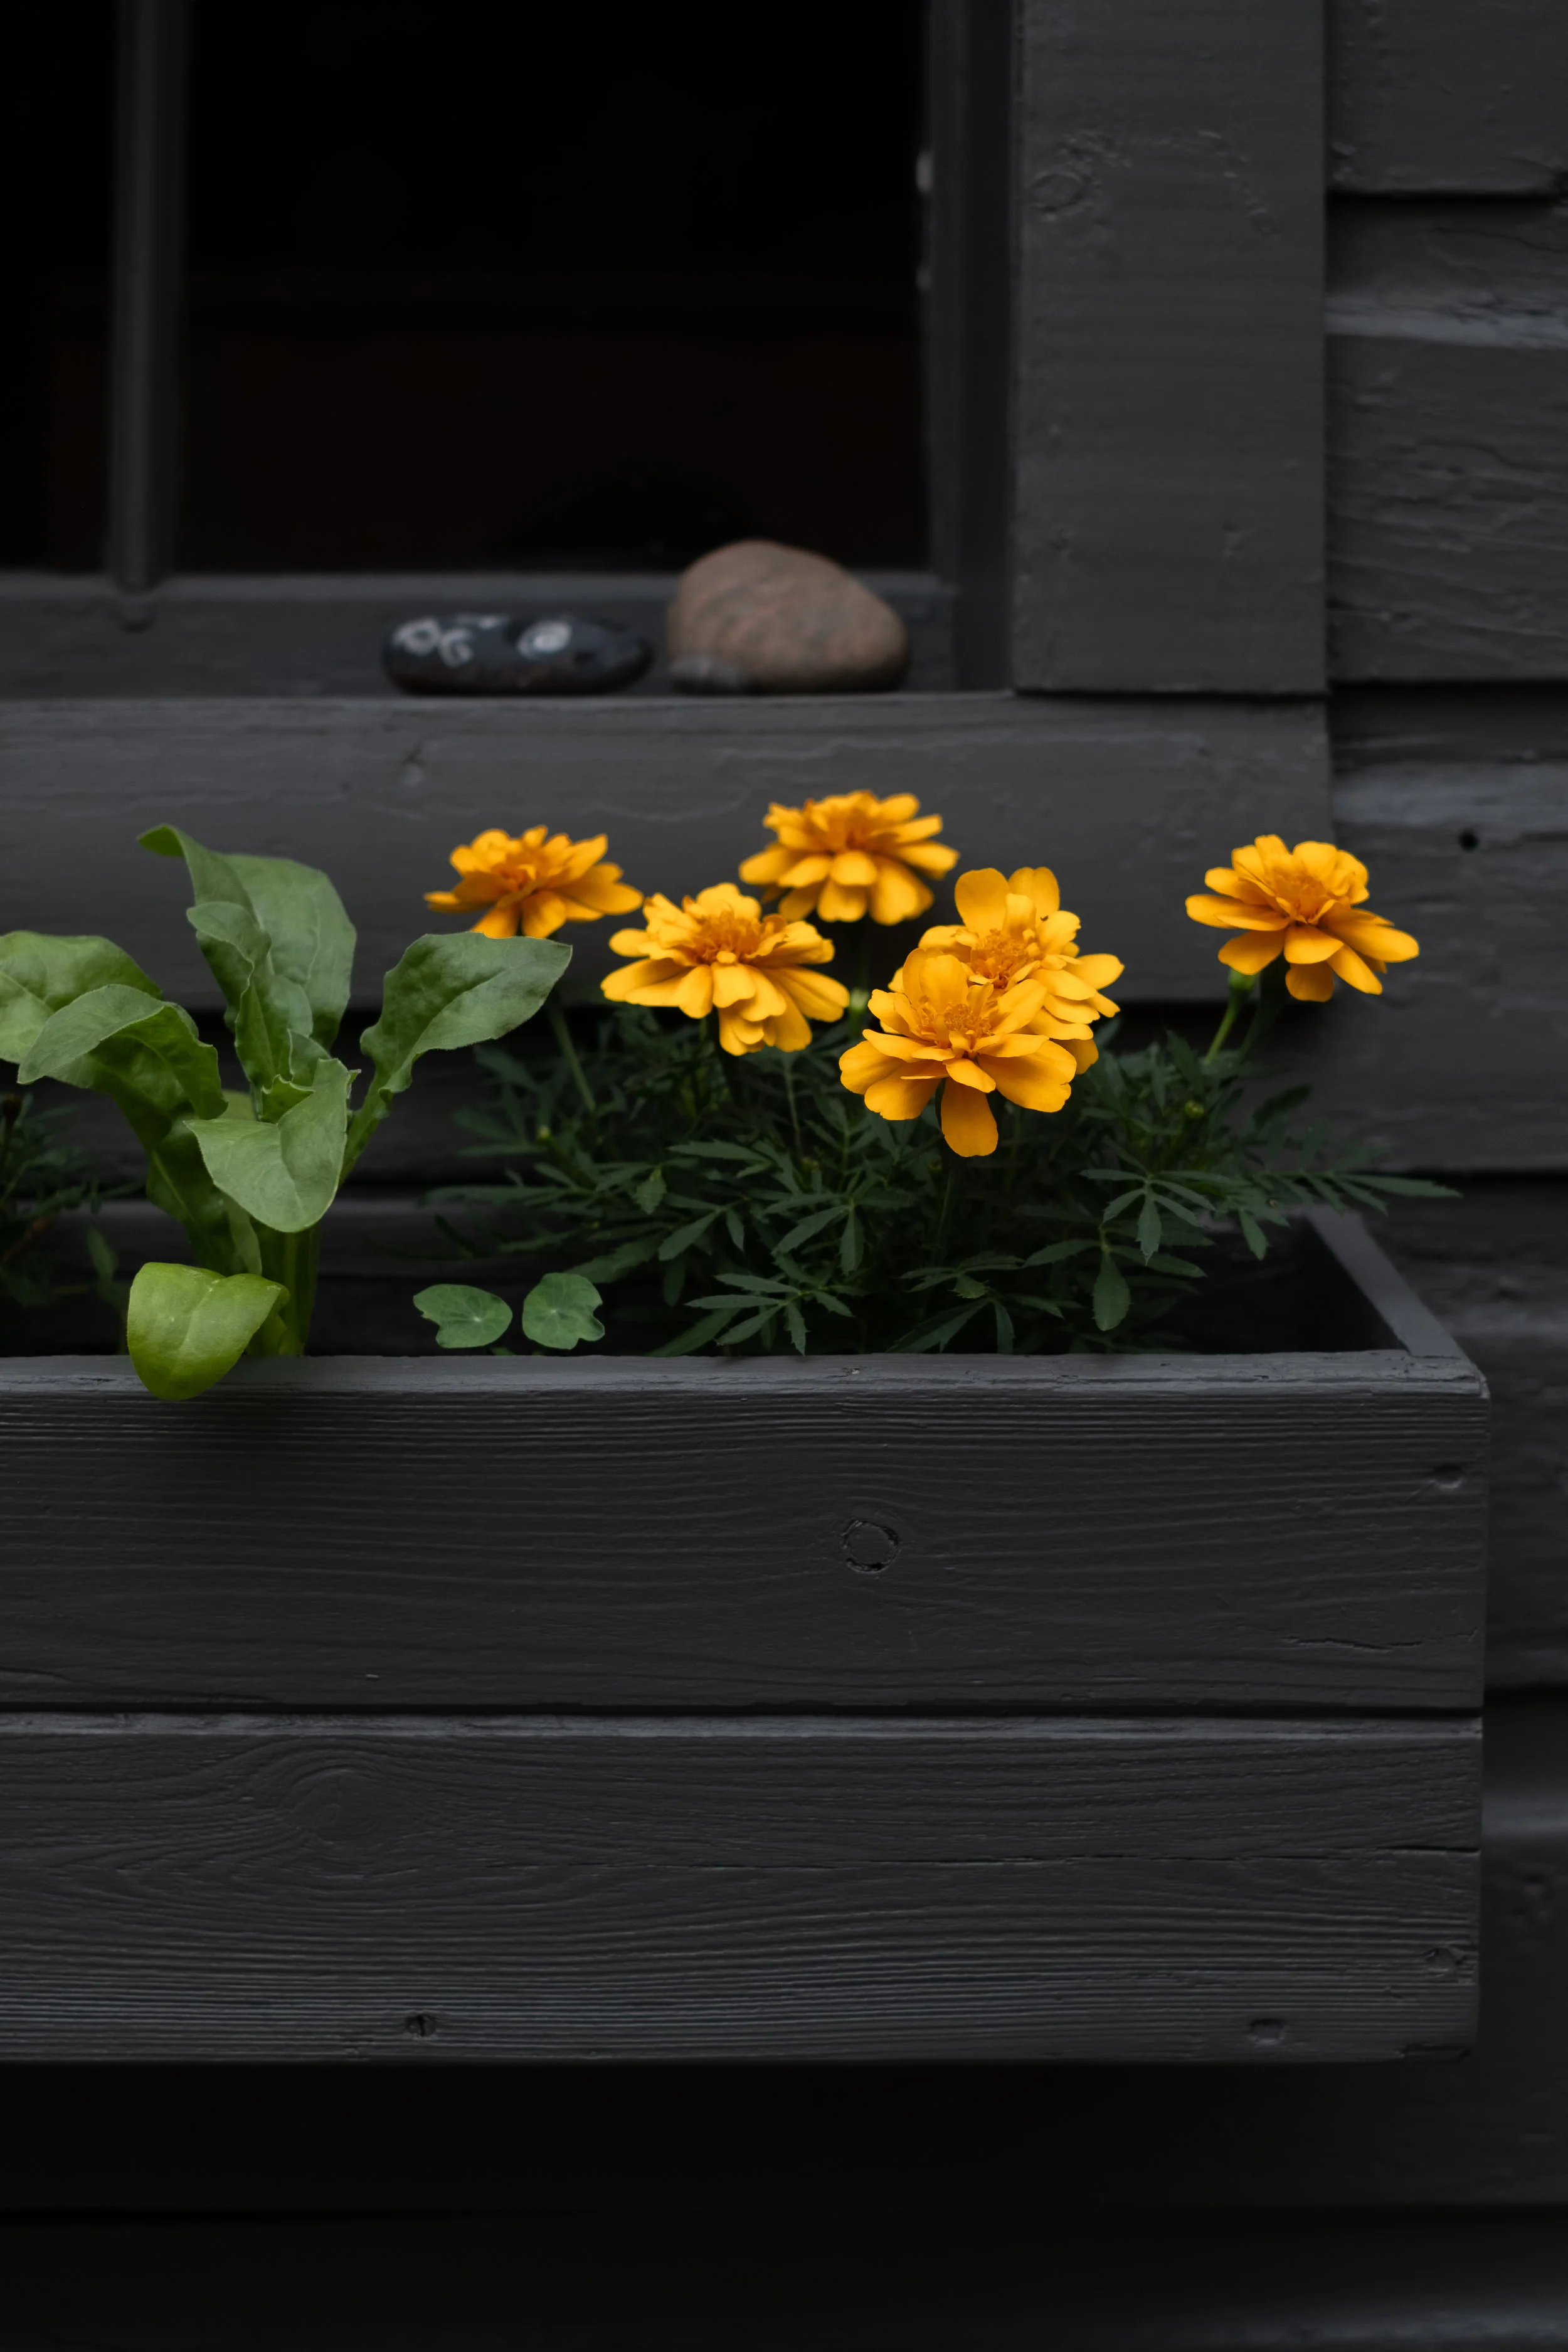
This years marigolds are an unexpected surprise! I didn’t anticipate the different varieties (some I’d never seen before) or how long-stemmed some are. The blooms are plentiful! It’s mid October and the marigolds continue to thrive.

backyard-17.jpg
marigolds
marigolds
marigolds
marigolds
backyard-3.jpg

For seating we opted for a large sectional and a coffee table. We have two folding tables and a dozen folding chairs in the shed if the need arises for that kind of seating arrangement. I like the scale of both pieces of furniture and that they are multi-functional.

Goodbye parsnip by Suzanne

parsnip.jpg

Making the right decision doesn’t necessarily feel good. I was reminded of this recently when we helped one of our cats die.

We were devastated to learn Parsnip was sick from something of which she wouldn’t recover.

The news was hard to compute. Although she was 16 years old she looked healthy and vital, and was often mistaken for a younger cat.

But an x-ray and a certain behaviour - hiding in the dankest and darkest part of the house behind the furnace - told us otherwise. Parsnip was dying.

A natural death is what I wanted for Parsnip. But the veterinarian advised me my end-of-life scenario for Parsnip was unrealistic. The fluid around her heart meant her death would likely be awful. In Parsnip’s case, allowing her to die “naturally” meant a prolonged suffering, one we wouldn’t necessarily see (cats are very stoic when it comes to pain) or be able to manage.

The vet never said what to do but her opinion rang clear; it would be cruel to keep Parsnip going any longer and we should assist her death.

Euthanasia seemed unfathomable but my discomfort with making the decision to euthanize Parsnip wasn’t the priority. She was the priority. She was suffering and it would only get worse.

After a long phone conversation with a hospice vet and listening to her guidance I felt more assured assisting Parsnip’s death was the right thing to do. But calling to schedule the appointment to euthanize was hard. My thinking got cloudy. Maybe it’s too soon? Maybe we should wait for a more catastrophic moment when we would at least have no doubts?

The hospice vet understood my reluctance to book the appointment and said it was common for people to call and want to cancel. When she said “better a day too soon than a day too late” I knew she was right.

We were grateful for the two women who arrived at our home one Saturday morning to perform the procedure - a sedation-first euthanasia, which put Parsnip into a gentle sleep before administering a lethal drug. I’m happy we could be present and play a comforting role.

They helped us manage our grief, too. We especially appreciated how they left the room after Parsnip was sedated so we could be with her one last time and whisper our goodbyes. Other gestures were thoughtful: they gave us a small stone with her name on it and a sachet of the fur they removed to install the catheter.

Although it was a peaceful end - Parsnip on her favourite blanket, eating cat treats, with us around her, stroking her and expressing our love - it reduced us to tears and we still feel the loss.

She was a beautiful animal, a walking purring work of art, a member of the family, enmeshed in our lives.

parsnip-2.jpg

My favourite things about our new backyard by Suzanne

our new backyard space

Despite a few projects yet to complete we are outside and enjoying our new backyard.

Our contractor did an amazing job, working almost entirely from a rudimentary drawing we made with coloured markers and a few consults along the way.

The result is an open and bare bones kind of space that’s full of possibilities: for gathering and entertaining, for growing things, for epic sky gazing. It even makes me think of families who might live here after us. The image of little kids on push-around toys comes to mind.

our new backyard space
sky gazing

We plan to paint the cedar shingles on the back of the house a pale grey, a shade or two lighter than the door. Besides the two new sconces on either side of the back door we will add patio lights and maybe ground lighting that’s charged by the sun. This space gets a lot of sun.

our new backyard space

Which reminds me, we definitely need to establish more shade. We’re thinking something like this to make the space more inviting, even on hot hot days.

Some new furniture for dining and lounging will be nice too. But in the meantime a folding table and chairs do okay.

I’ll be sure to share photos as things progress. Until then, here are some of my favourite features about our new backyard:

These pavers. They feel great underfoot. They heat up from the sun during the day and radiate a wonderful warmth on a cool summer evening.

our new backyard space

This rain barrel. It supports my intention to be less wasteful and I love the shape of it.

rain barrel

This raised rock wall garden and adjacent garden patch. We look forward to watching things grow and the rock wall makes a lovely seating area for quiet conversations too.

our new backyard space
our new backyard
our new backyard space
our new backyard

This newly painted old shed. It still amazes me how two coats of paint revived a tired old structure. Also, I’m having fun imagining what I might hang on the blank space to the left of the window box. A piece of outdoor art perhaps? A mirror? Another planter?

our new backyard space

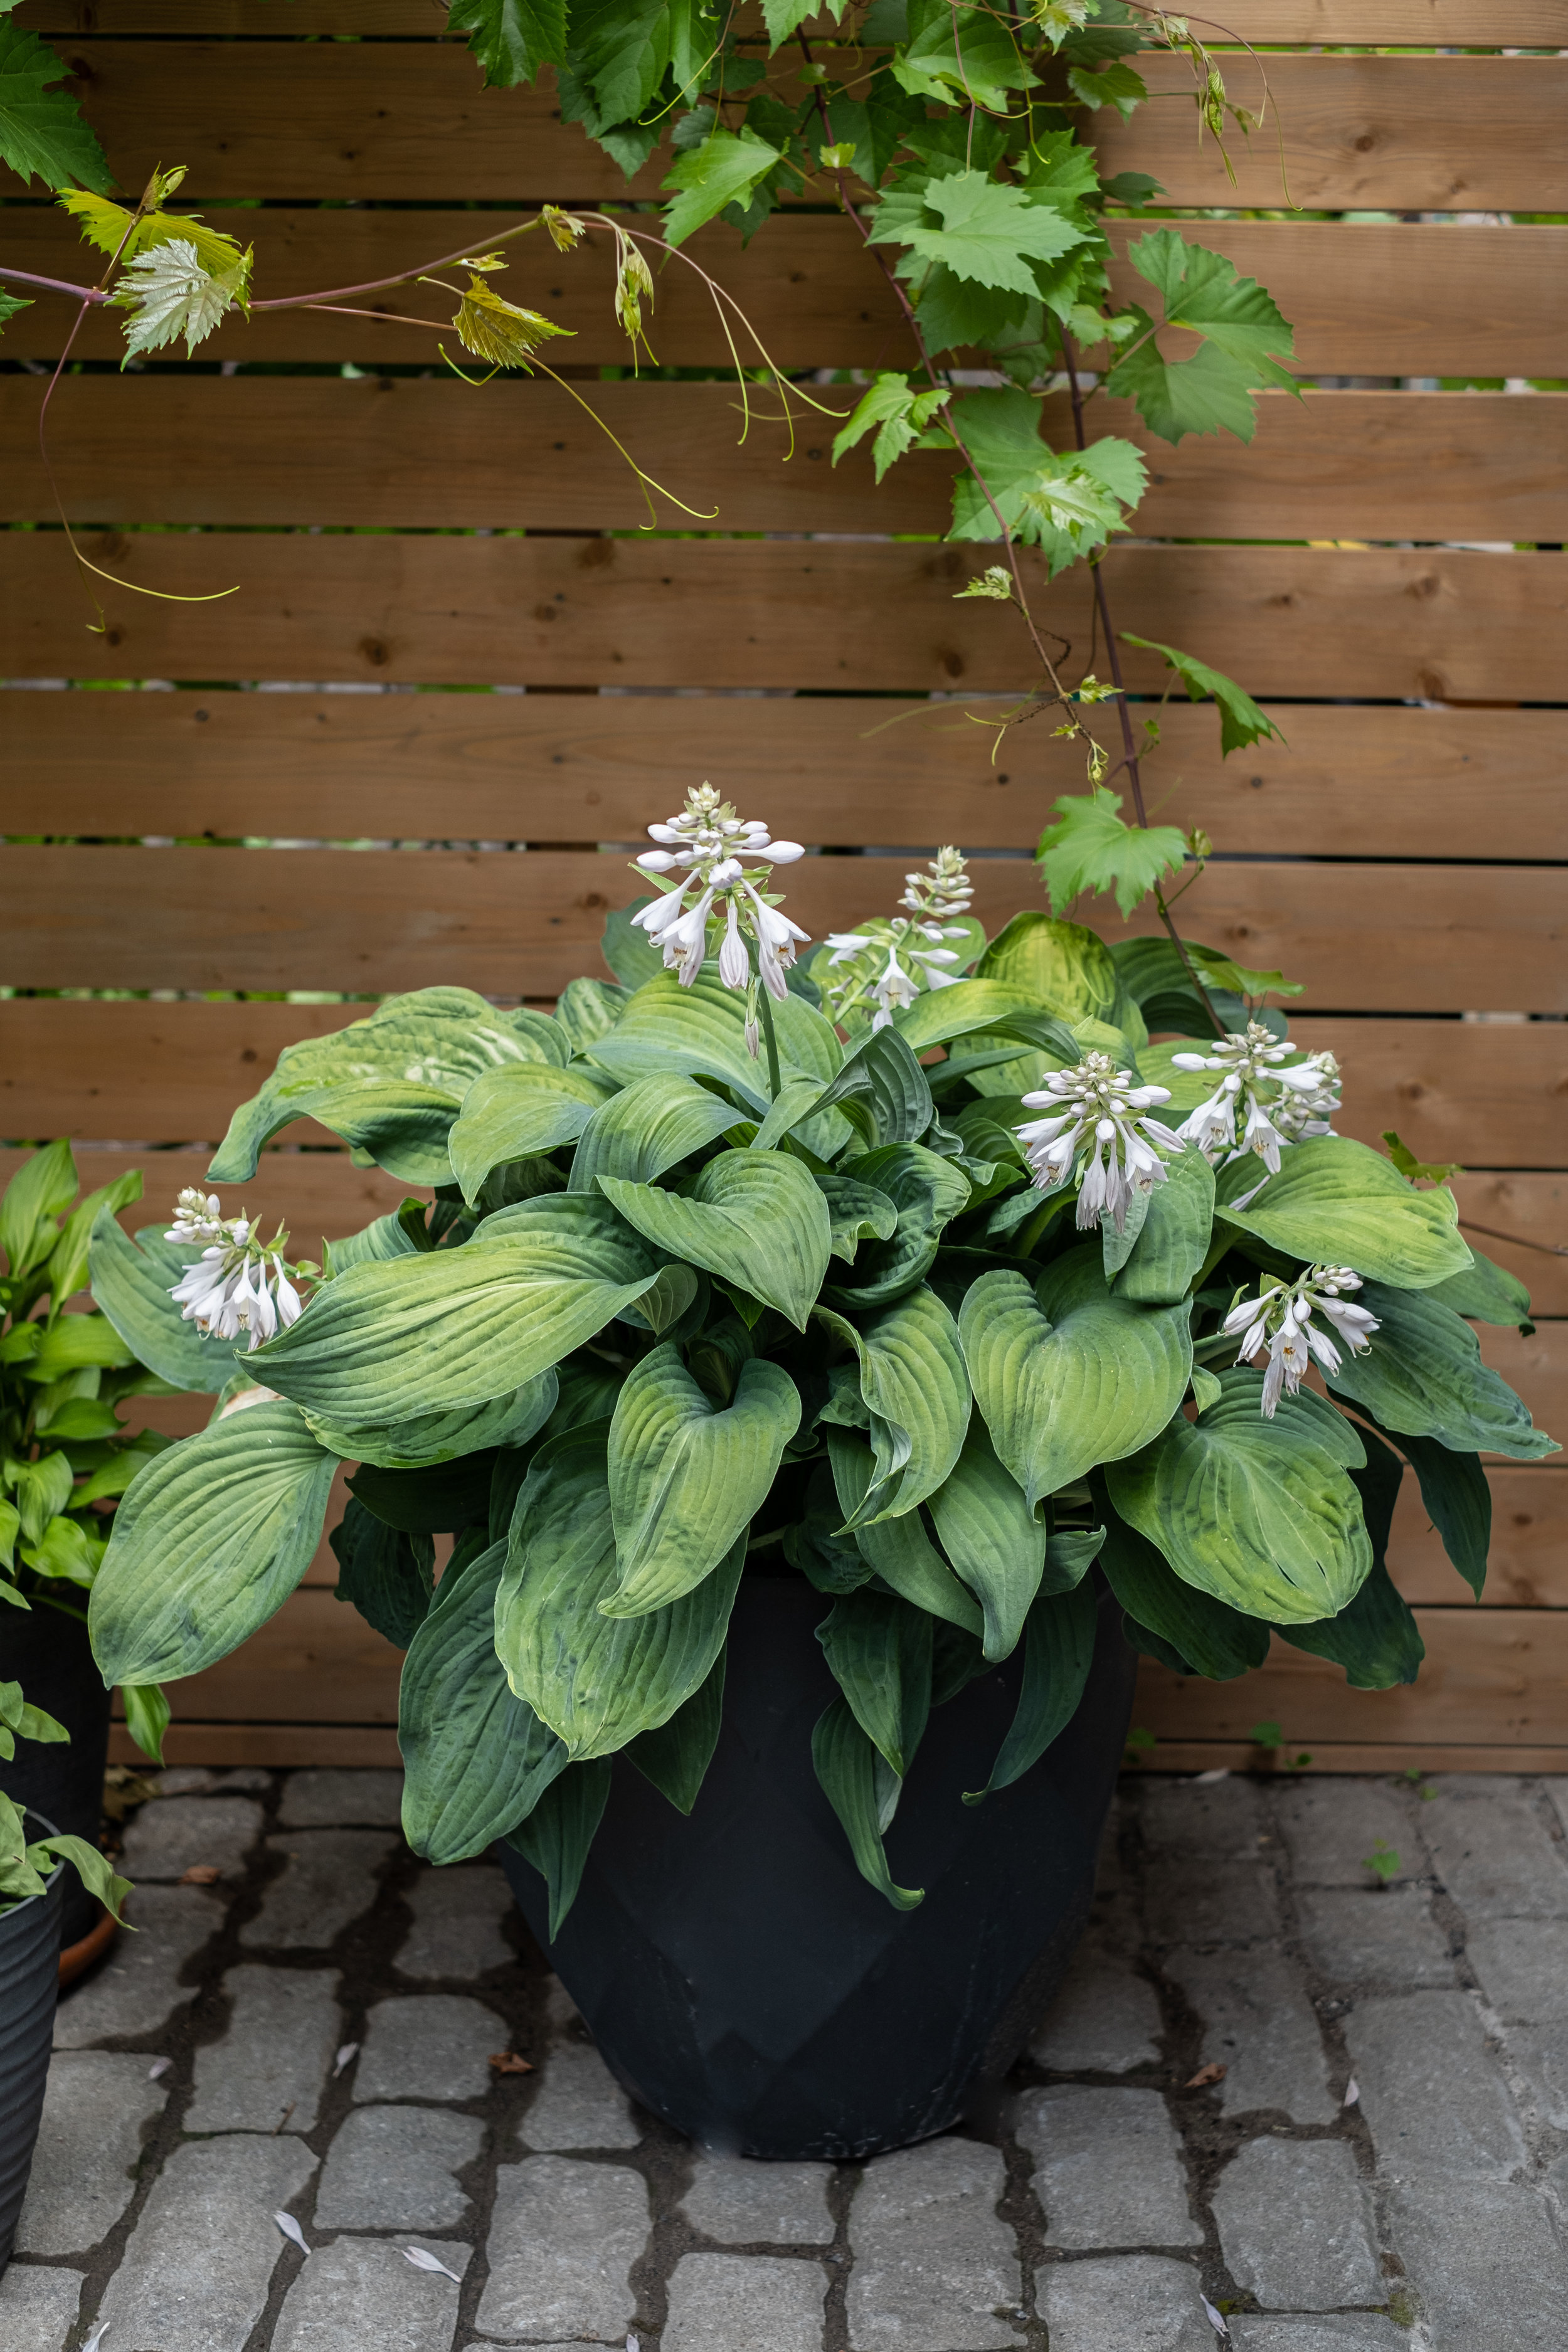
The ample space for container gardening. I’m pleased to see the hosta I dug up and saved from our “before” yard is thriving in a big urn as are the pots of basil and the marigolds I started from seed. Even the succulents, normally indoors, are enjoying the new space!

potted hosta
potted hosta
potted marigolds
marigolds
potted basil
back yrd favs.jpg
potted succulent
succulents

This peekaboo window. A left over floor grate from the kitchen renovation is made useful once again.

our new backyard space

Check out some before and after photos here.

Oven roasted broccoli with garlic and lemon by Suzanne

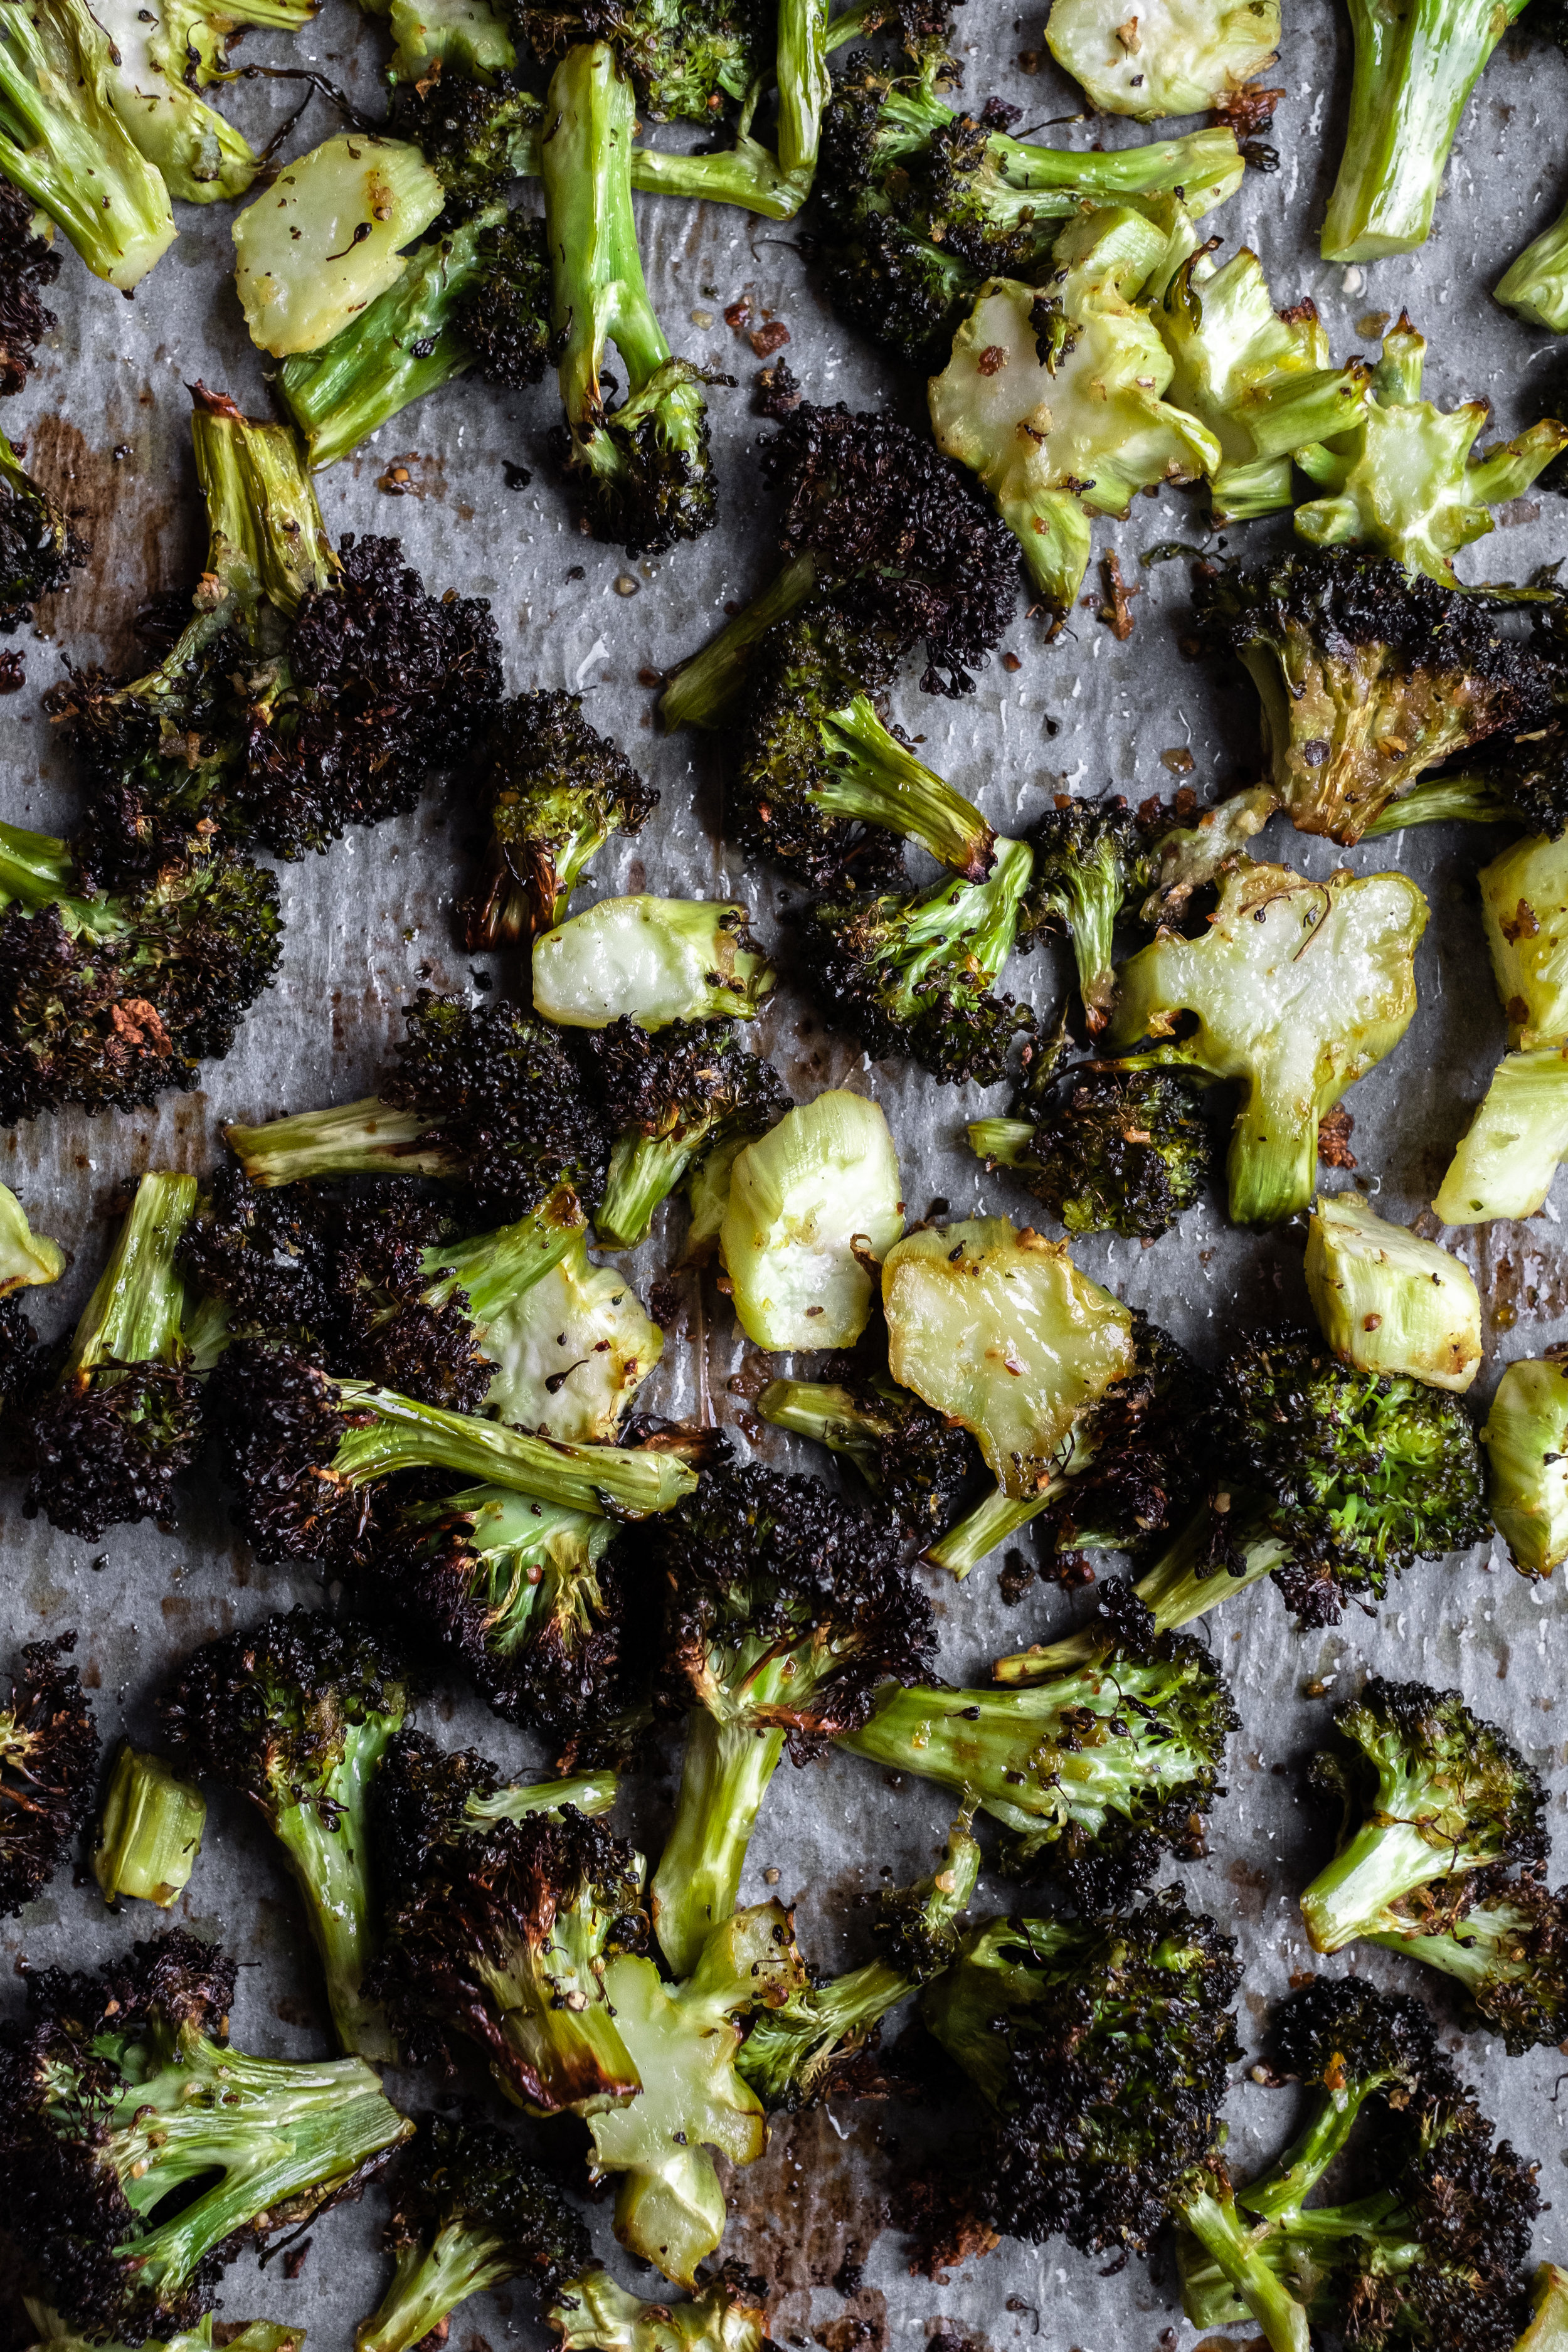
oven roasted broccoli with garlic and lemon

The other afternoon I roasted a big bunch of broccoli and we ate it with our fingers, straight from the oven and right off the sheet. Delicious!

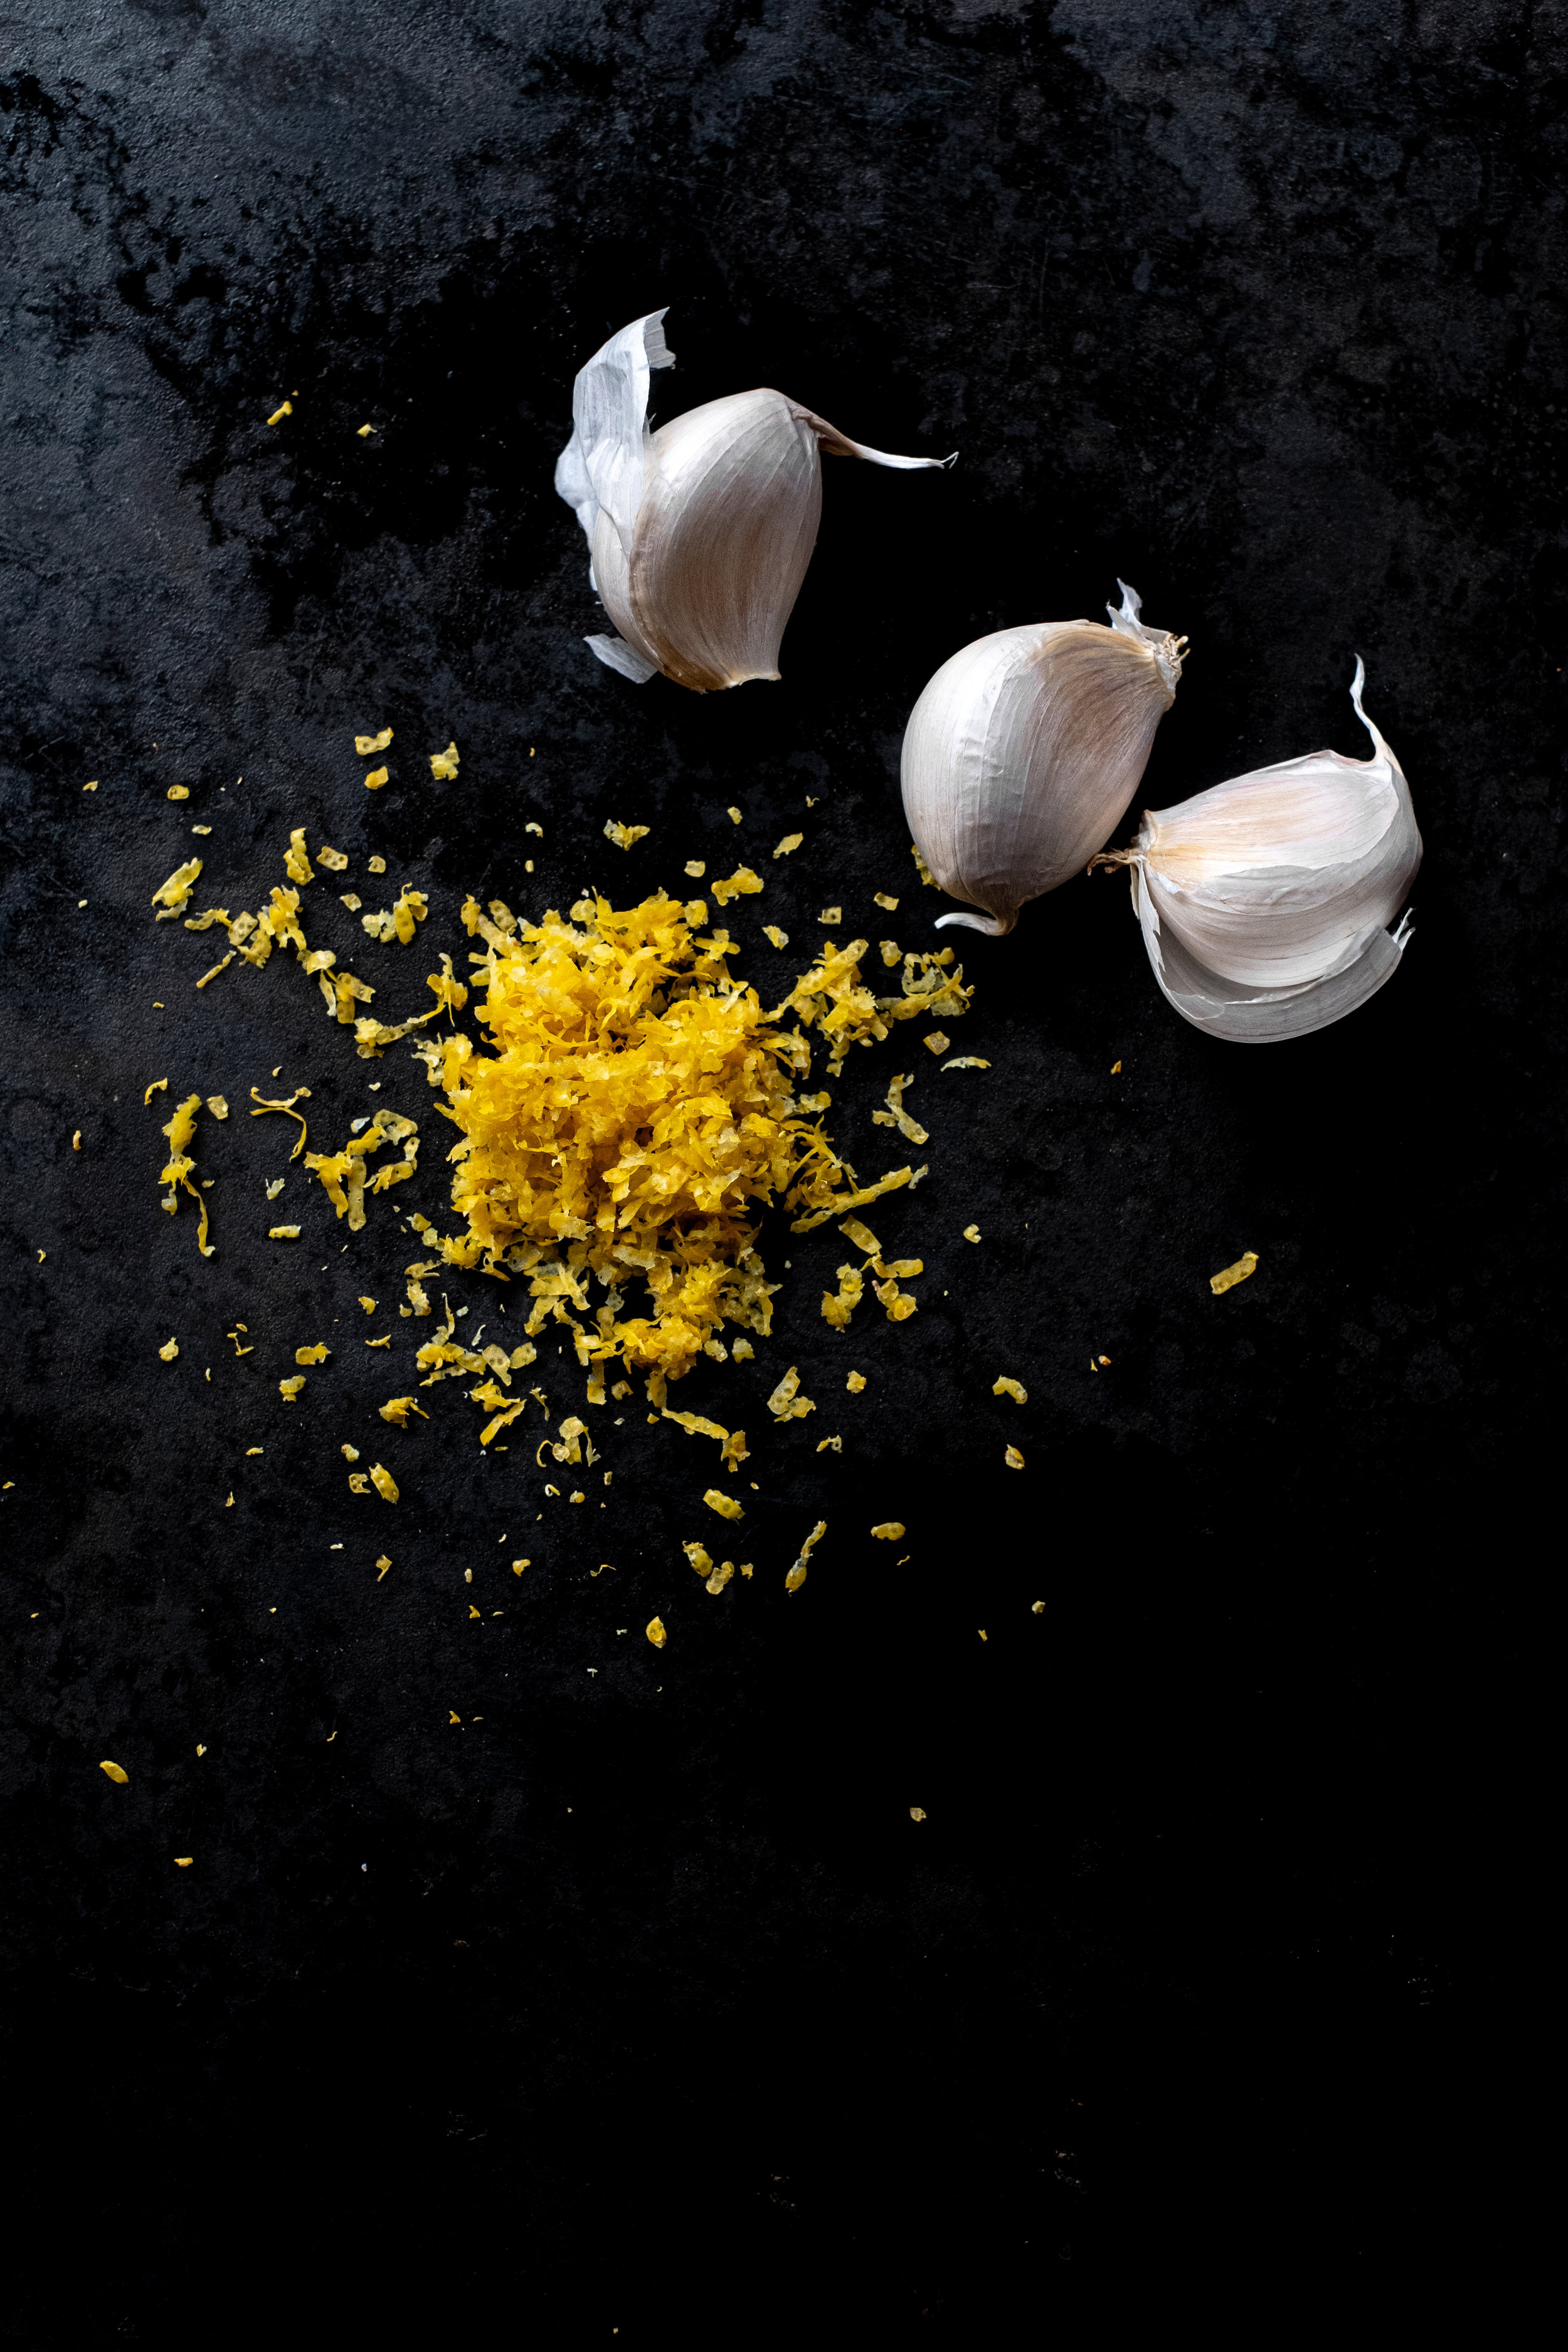
To make this finger-licking-good broccoli you toss the stem segments and florets in garlic, olive oil, lemon zest, red chili flakes and salt, and roast in the oven until crispy and slightly charred.

Drizzle with freshly squeezed lemon juice right before serving as a side dish or afternoon snack for three to four people.

oven roasted broccoli with garlic and lemon

Oven roasted broccoli with garlic and lemon (original recipe here.)

2 bunches or 4 good-sized stems of washed broccoli

5 tablespoons olive oil

1/2 teaspoon salt

Finely grated zest of a lemon

A few pinches of pepper flakes (optional)

3 small garlic cloves, minced

Juice of a lemon, to finish

Note: Increase or decrease the amount of garlic, lemon zest, lemon juice salt and chili flakes to suit yourself.

Heat oven to 425°F (220°C). 

Wash broccoli.

Peel the tough outer skin of stems and chop into segments.

Slice the florets or use your hands to break them into smaller segments.

In a large bowl toss florets and stems with olive oil, garlic, pepper flakes, salt and lemon zest until evenly coated.

Spread broccoli in an even layer in a large pan or cookie sheet lined with parchment.  

Roast for 20 minutes then flip and move pieces around for even cooking. Under a watchful eye roast another 10 to 15 minutes or until broccoli is as crisp and charred as you like it.

Shower with fresh lemon juice and eat immediately.

oven roasted broccoli with garlic and lemon